
Confirm the visual clues, then use the route notes, fail point, booster judgment, and video assist when the picture matches.
Enhanced
Pixel Flow Level 660
Read Level 660 as a pressure board: confirm the first exposed window, the board outline, and the first color window that can clear fully before you copy a route.
Board Passport
Use this as a single-level workbench.
Confirm the visual clues, then use the route notes, fail point, booster judgment, and video assist when the picture matches.
Keep one tray slot open until the opener tied to first exposed window and the first color window that can clear fully is actually playable.
Use the image matcher when the same level number may show a different board.
Decide whether a booster changes the next move or only delays a bad run.
Look for
first exposed windowthe first color window that can clear fullyfive-slot pressuresame board outlineimage-only route check
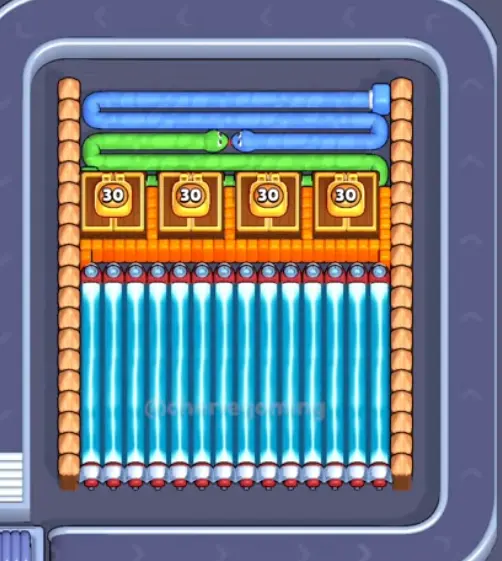
Pressure narrow-window board
- Keep one tray slot open until the opener tied to first exposed window and the first color window that can clear fully is actually playable.
- Read Level 660 as a pressure board: confirm the first exposed window, the board outline, and the first color window that can clear fully before you copy a route.
- Start with the first color window that can clear fully. A useful opener should remove a connected group or create a wider lane, not just spend a few easy pixels.
- The common failure is chasing future windows that are not open yet. That fills the five waiting slots while the actual opener still has no room to work.
- Add Tray helps only when it protects the fifth slot until a real window appears. Hand is better when one stored pig blocks the next real clear. Open Guide
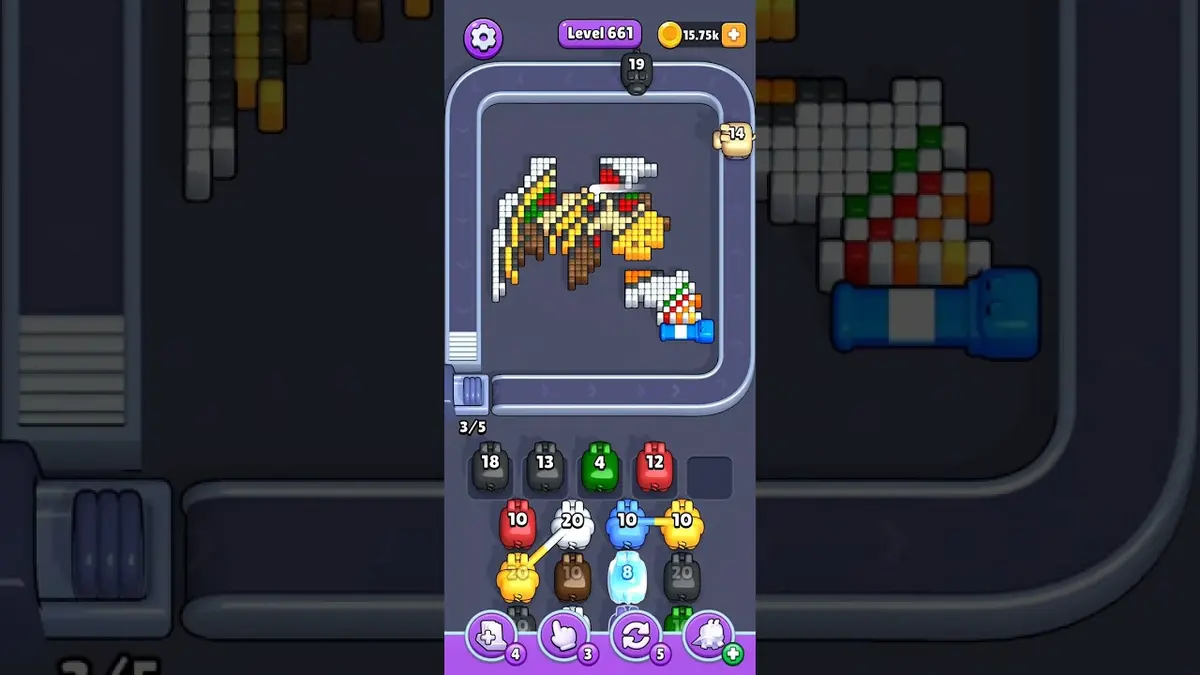
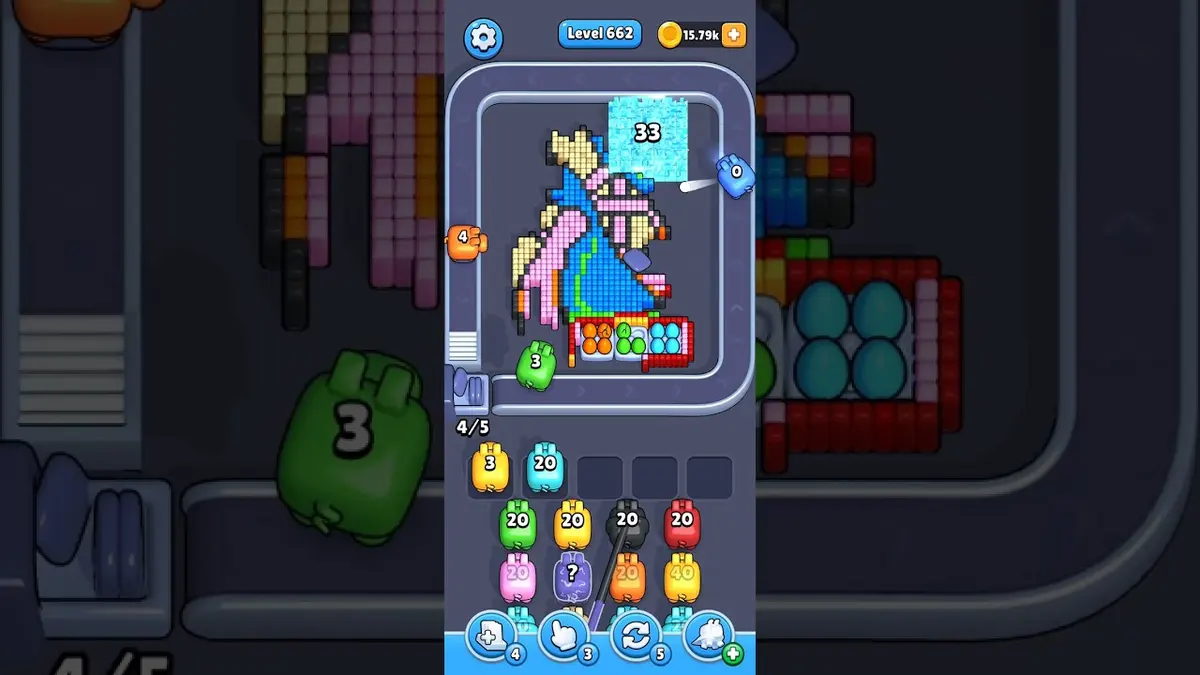
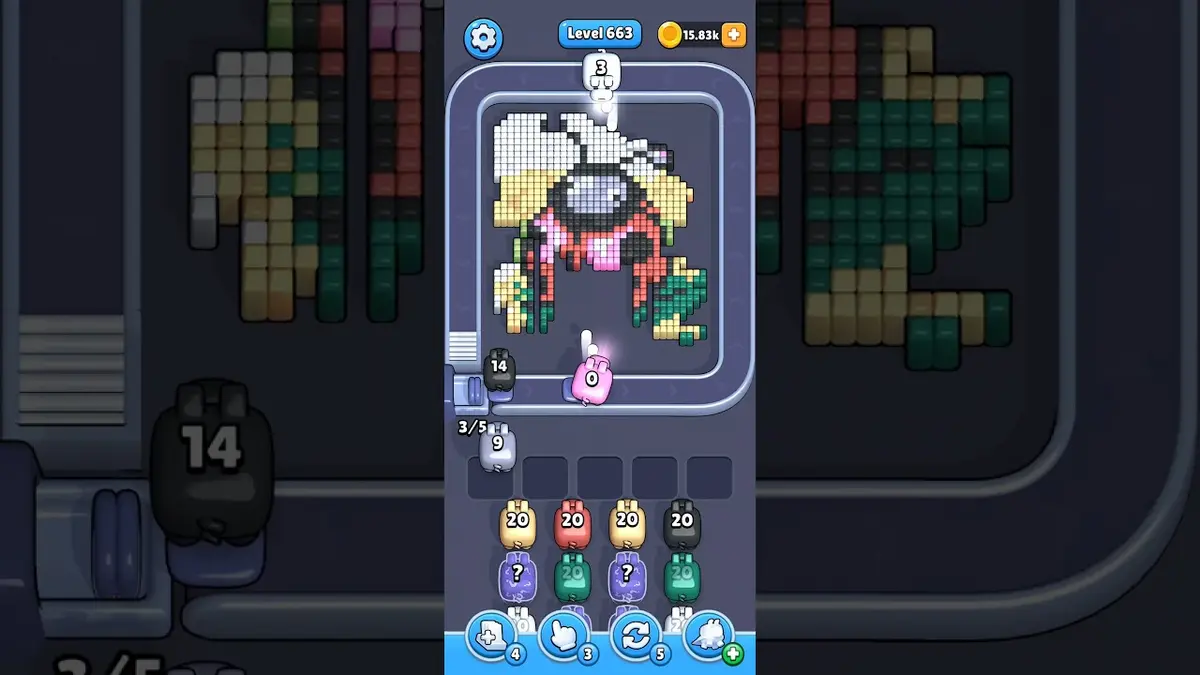
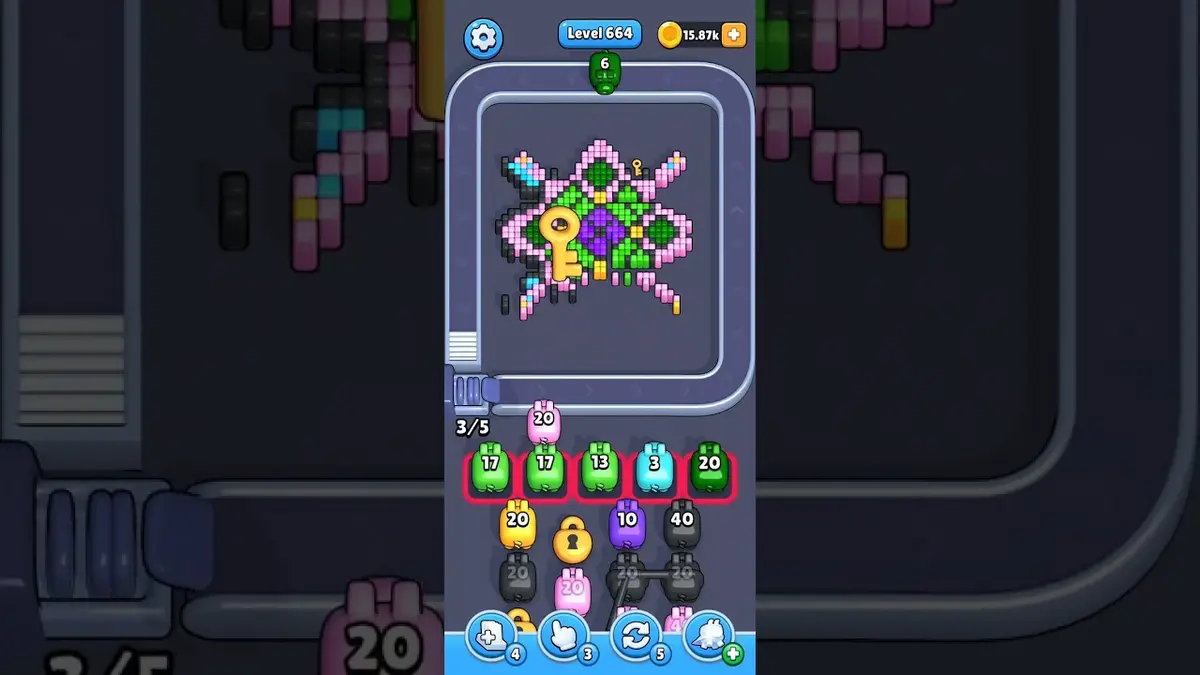
- If Level 660 does not match your screen, use screenshot matching before spending boosters. Levels 658, 659, 661, 662 are the closest picture checks.
Enhanced Guides
Follow the checks in this order.
Enhanced pages add board-specific judgment. They still start with the picture because a close level number can hide a different layout.
Confirm the board family
Check the first exposed window, the largest exposed group, and the border shape before trusting the level number.
Commit to one opener
Use the first color window that can clear fully to make space first. Switching targets too early usually creates leftovers instead of progress.
Protect the tray
Keep the fifth slot until a real window appears. A pig that cannot spend most of its ammo right now is usually tray weight.
Fallback by picture
If Level 660 does not match your screen, use screenshot matching before spending boosters. Levels 658, 659, 661, 662 are the closest picture checks.
Enhanced Guides
Pressure narrow-window board: what to check before you play.
Use these notes when the board image matches your screen. If the shape differs, jump to screenshot matching before spending boosters.
Picture match
Read Level 660 as a pressure board: confirm the first exposed window, the board outline, and the first color window that can clear fully before you copy a route.
Opener match
Start with the first color window that can clear fully. A useful opener should remove a connected group or create a wider lane, not just spend a few easy pixels.
Booster match
The common failure is chasing future windows that are not open yet. That fills the five waiting slots while the actual opener still has no room to work.
Booster match
Add Tray helps only when it protects the fifth slot until a real window appears. Hand is better when one stored pig blocks the next real clear.
Look for
first exposed windowthe first color window that can clear fullyfive-slot pressuresame board outlineimage-only route checkcompare 658, 659, 661, 662
Use the image matcher when the same level number may show a different board.
Start with the first color window that can clear fully. A useful opener should remove a connected group or create a wider lane, not just spend a few easy pixels.
Decide whether a booster changes the next move or only delays a bad run.
Check Boosters
Use this sequence before spending a booster.
Enhanced pages are built around board reading: confirm the picture, find the opener, control the five slots, then decide whether a booster actually changes the next move.
Confirm the board family
Check the first exposed window, the largest exposed group, and the border shape before trusting the level number.
Commit to one opener
Use the first color window that can clear fully to make space first. Switching targets too early usually creates leftovers instead of progress.
Protect the tray
Keep the fifth slot until a real window appears. A pig that cannot spend most of its ammo right now is usually tray weight.
Fallback by picture
If Level 660 does not match your screen, use screenshot matching before spending boosters. Levels 658, 659, 661, 662 are the closest picture checks.
Board Pages
What players noticed on this board.
Short route clues, booster reminders, and wrong-layout warnings stay attached to this exact board image.
I wait until the first exposed window and the first color window that can clear fully both line up. If one clue is off, I assume it is a different board with the same level number.
The common failure is chasing future windows that are not open yet. That fills the five waiting slots while the actual opener still has no room to work.
No player clues on this board yet.
Add a clue after you test the layout so the next route is easier to read.
Open Solver
Same number, different board?
Match your screenshot against 2020 board visuals, then return to the closest level page once the picture lines up.
Nearby board
Move through this range by picture.
Use nearby pages when your board has the same level band but the picture is slightly different.
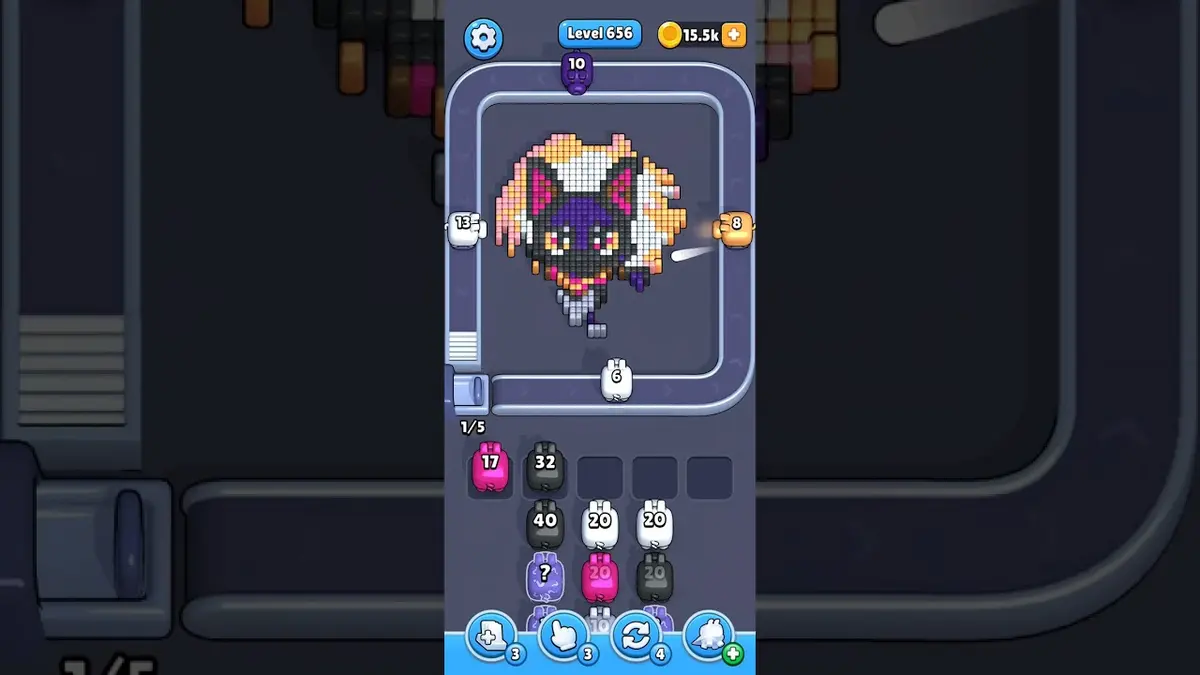
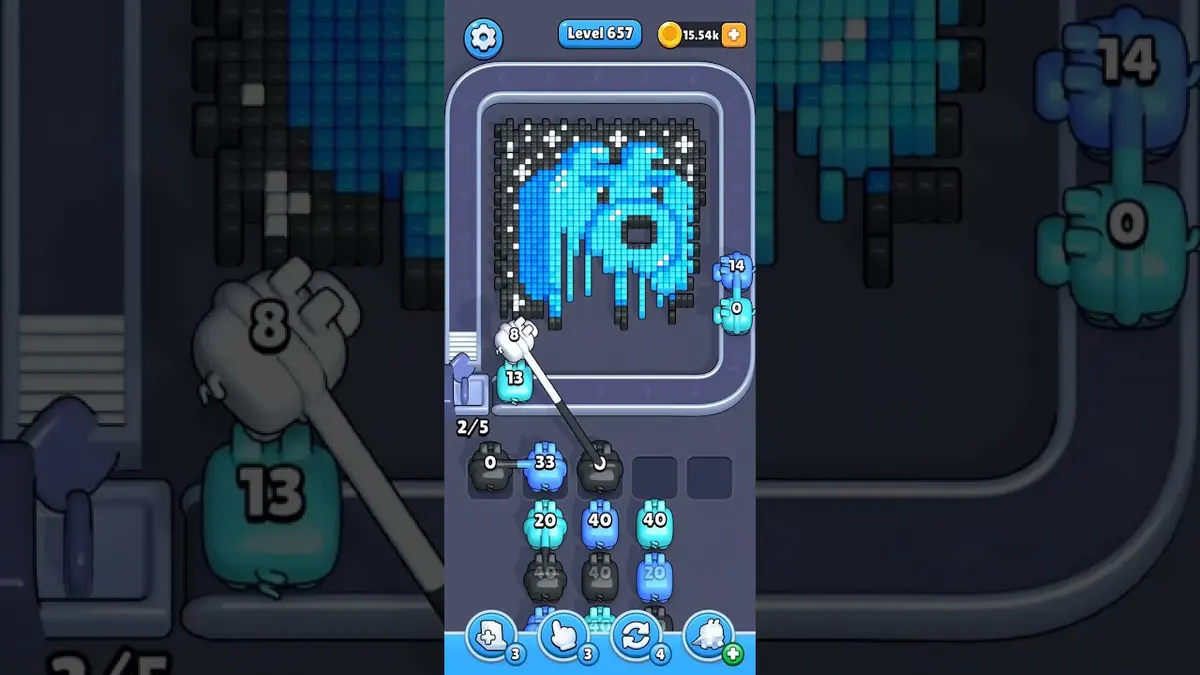
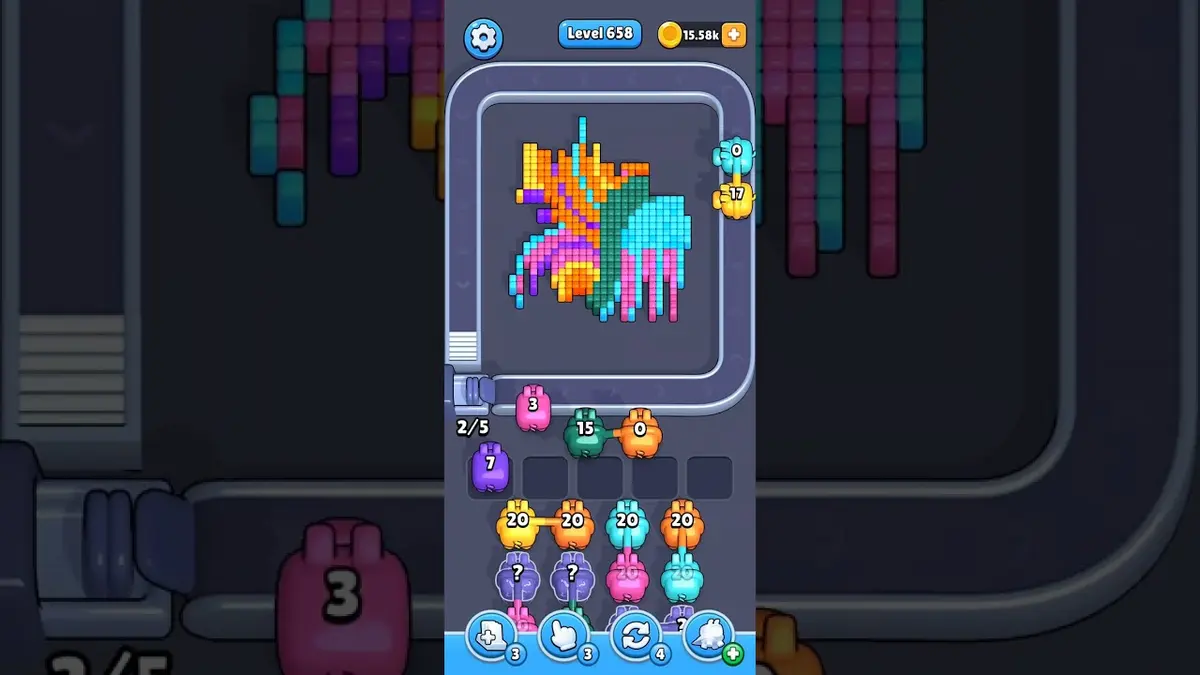
Nearby range
Browse the level range.
Open a few boards in the same small band when the level number is close but the image does not match.
Enhanced Guides
Open route logic near this board.
These pages may not be the same layout, but they show useful opener, tray, and booster decisions for nearby hard boards.
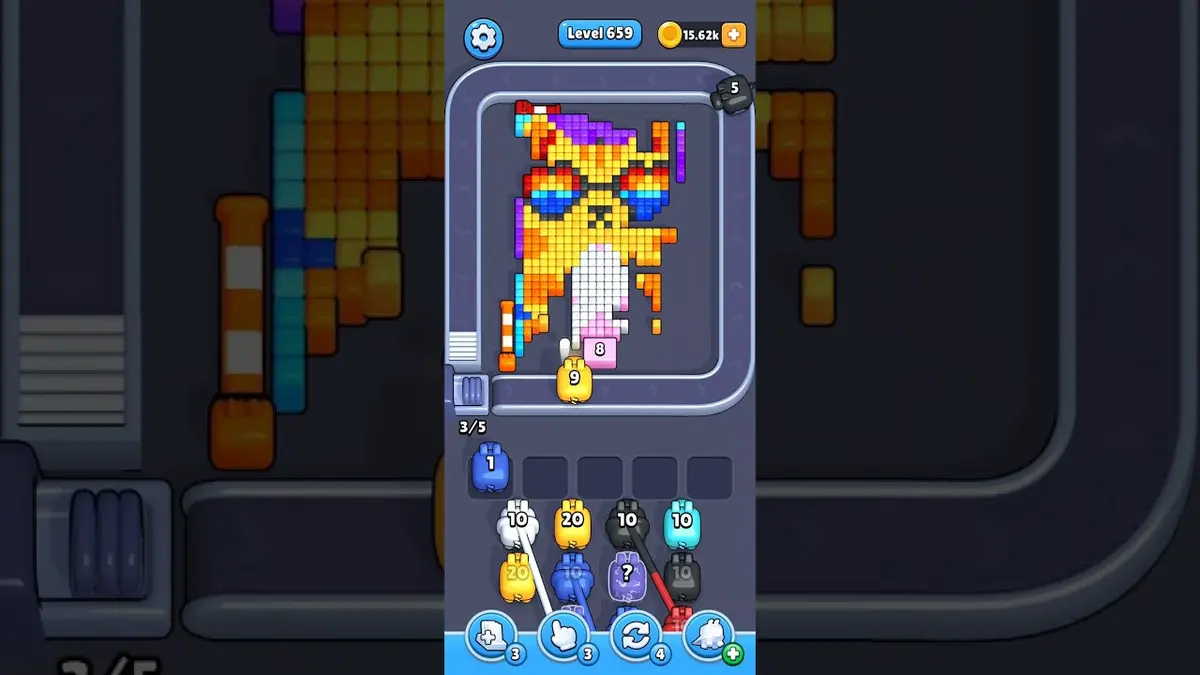
Level 659
Enhanced
Start with the first color window that can clear fully. A useful opener should remove a connected group or create a wider lane, not just spend a few easy pixels.
Open Guide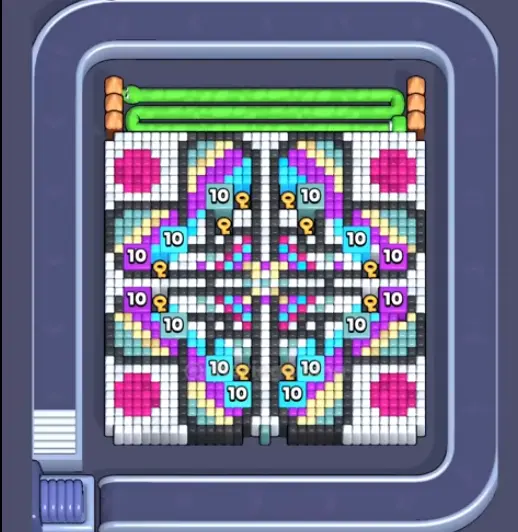
Level 645
Wrong-layout hotspot
Start with the white perimeter because it separates the four quadrants. Once the cage breaks, use grouped pink corners and then work into the cyan locks.
Open Guide
Level 643
Heavy slot pressure
Reject low-value pigs until the first wall color has a clear lane.
Open Guide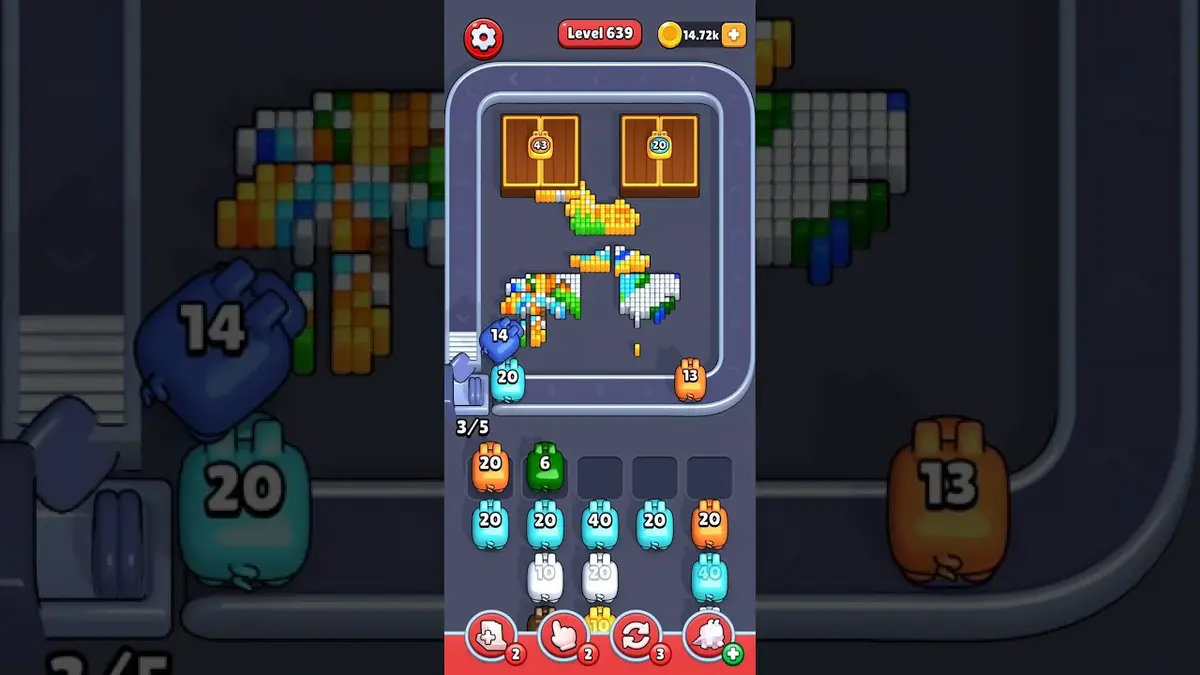
Level 639
Enhanced
Start with the first color window that can clear fully. A useful opener should remove a connected group or create a wider lane, not just spend a few easy pixels.
Open Guide
Comments
Comments (2)