
Confirm the visual clues, then use the route notes, fail point, booster judgment, and video assist when the picture matches.
Enhanced
Pixel Flow Level 279
Look for a compact, dense board with repeated color blocks and a narrow opener. The useful move is usually a sustained clear, not a tour of every visible strip.
Board Passport
Use this as a single-level workbench.
Confirm the visual clues, then use the route notes, fail point, booster judgment, and video assist when the picture matches.
Match dense compact board and dominant exposed color, then follow the opener before touching scattered pixels.
Open the player only after the cover looks close to your board. If the shape or first exposed colors differ, use the screenshot matcher first.
Use nearby board pages when the number is right but the picture is not exact.
Look for
dense compact boarddominant exposed colormixed strip trapnearby 266-293queue one slot short
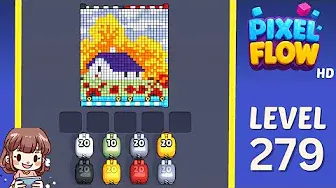
Dense hard-board opener
- Match dense compact board and dominant exposed color, then follow the opener before touching scattered pixels.
- Look for a compact, dense board with repeated color blocks and a narrow opener. The useful move is usually a sustained clear, not a tour of every visible strip.
- Find the dominant exposed color and clear it as one run before touching mixed strips or small leftovers.
- Mixed strips feel productive, but they often drain ammo while the board remains closed.
- Add Tray can be useful when two high-ammo pigs can both hit the opener and the queue is one slot short. Otherwise restart and preserve boosters. Open Guide
- If your Level 279 is not dense or the opener sits in a different zone, compare nearby Levels 266-293 and then match a screenshot.
Enhanced Guides
Follow the checks in this order.
Enhanced pages add board-specific judgment. They still start with the picture because a close level number can hide a different layout.
Find the dominant exposed color
Use the board image to choose the color that can spend the most ammo immediately.
Clear the opener in one run
A sustained clear matters more than hitting several tiny strips.
Do not chase mixed strips first
Small mixed paths create leftover pixels and turn later pigs into tray pressure.
Use the atlas when the shape differs
Level 279 has many close neighbors; move by picture, not only by number.
Enhanced Guides
Dense hard-board opener: what to check before you play.
Use these notes when the board image matches your screen. If the shape differs, jump to screenshot matching before spending boosters.
Picture match
Look for a compact, dense board with repeated color blocks and a narrow opener. The useful move is usually a sustained clear, not a tour of every visible strip.
Opener match
Find the dominant exposed color and clear it as one run before touching mixed strips or small leftovers.
Booster match
Mixed strips feel productive, but they often drain ammo while the board remains closed.
Booster match
Add Tray can be useful when two high-ammo pigs can both hit the opener and the queue is one slot short. Otherwise restart and preserve boosters.
Look for
dense compact boarddominant exposed colormixed strip trapnearby 266-293queue one slot short
Use the image matcher when the same level number may show a different board.
Find the dominant exposed color and clear it as one run before touching mixed strips or small leftovers.
Decide whether a booster changes the next move or only delays a bad run.
Check Boosters
Use this sequence before spending a booster.
Enhanced pages are built around board reading: confirm the picture, find the opener, control the five slots, then decide whether a booster actually changes the next move.
Find the dominant exposed color
Use the board image to choose the color that can spend the most ammo immediately.
Clear the opener in one run
A sustained clear matters more than hitting several tiny strips.
Do not chase mixed strips first
Small mixed paths create leftover pixels and turn later pigs into tray pressure.
Use the atlas when the shape differs
Level 279 has many close neighbors; move by picture, not only by number.
Video
Use the thumbnail as a board check before playing.
Open the player only after the cover looks close to your board. If the shape or first exposed colors differ, use the screenshot matcher first.
Board Pages
What players noticed on this board.
Short route clues, booster reminders, and wrong-layout warnings stay attached to this exact board image.
I wait until the dense compact board and dominant exposed color both line up. If one clue is off, I assume it is a different board with the same level number.
Mixed strips feel productive, but they often drain ammo while the board remains closed.
Add Tray can be useful when two high-ammo pigs can both hit the opener and the queue is one slot short. Otherwise restart and preserve boosters. I check the opener first, then decide whether the extra slot actually changes the next move.
No player clues on this board yet.
Add a clue after you test the layout so the next route is easier to read.
Open Solver
Same number, different board?
Match your screenshot against 2020 board visuals, then return to the closest level page once the picture lines up.
Nearby board
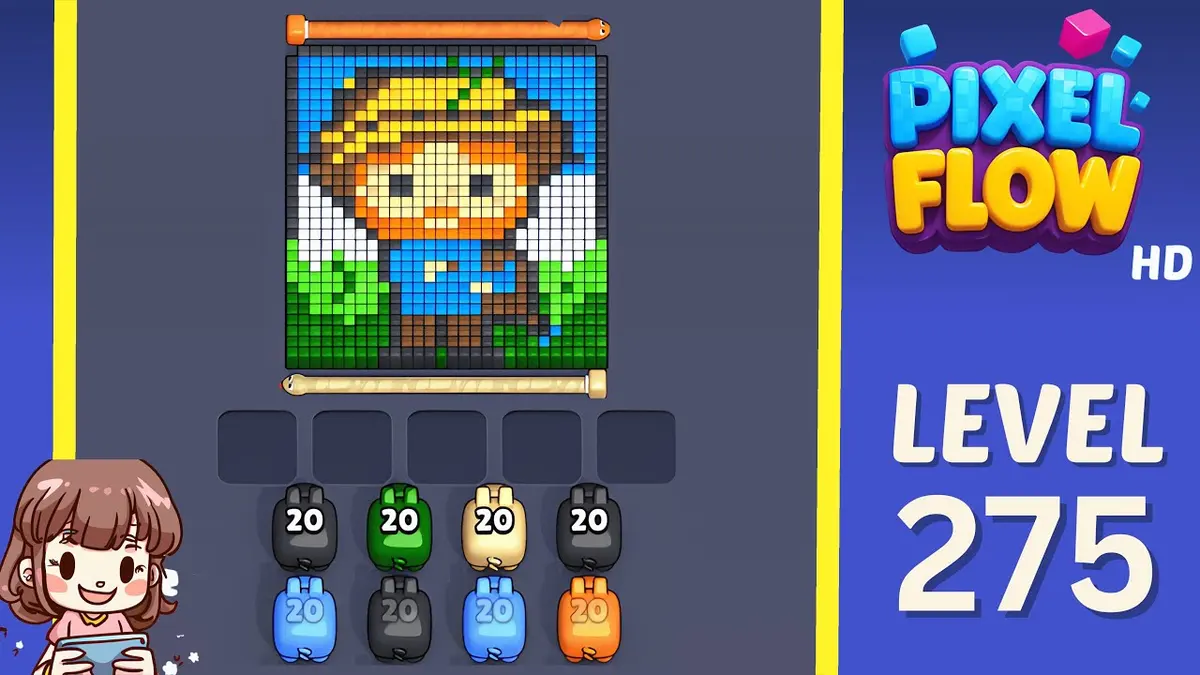
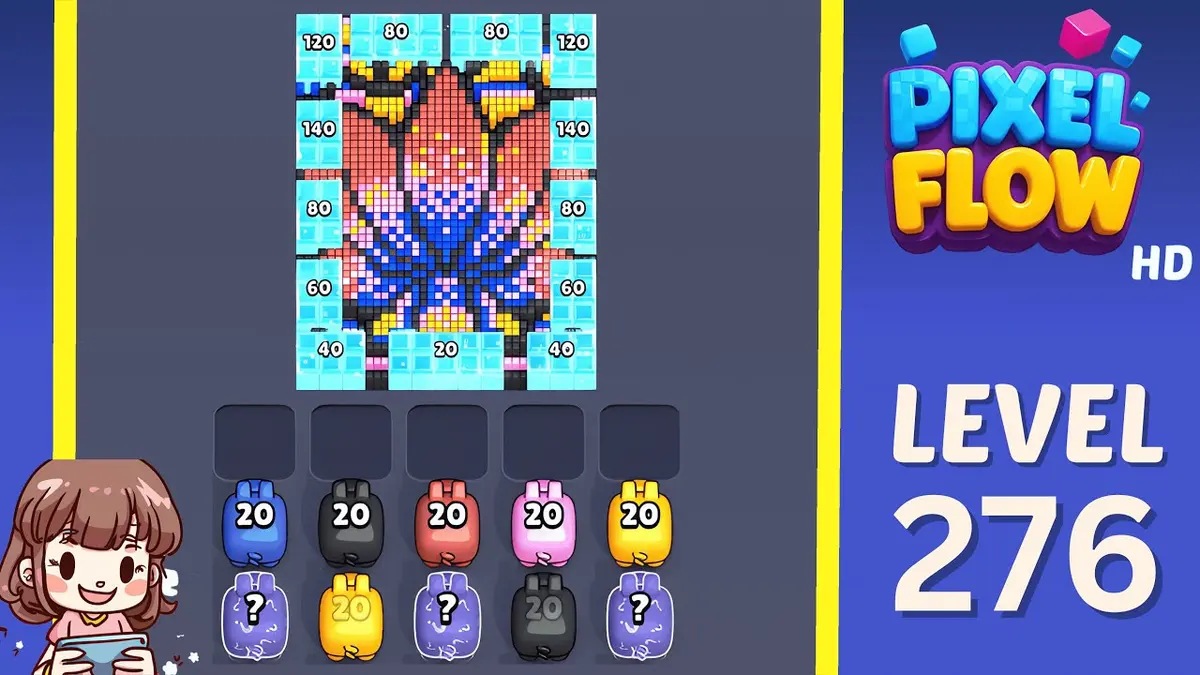
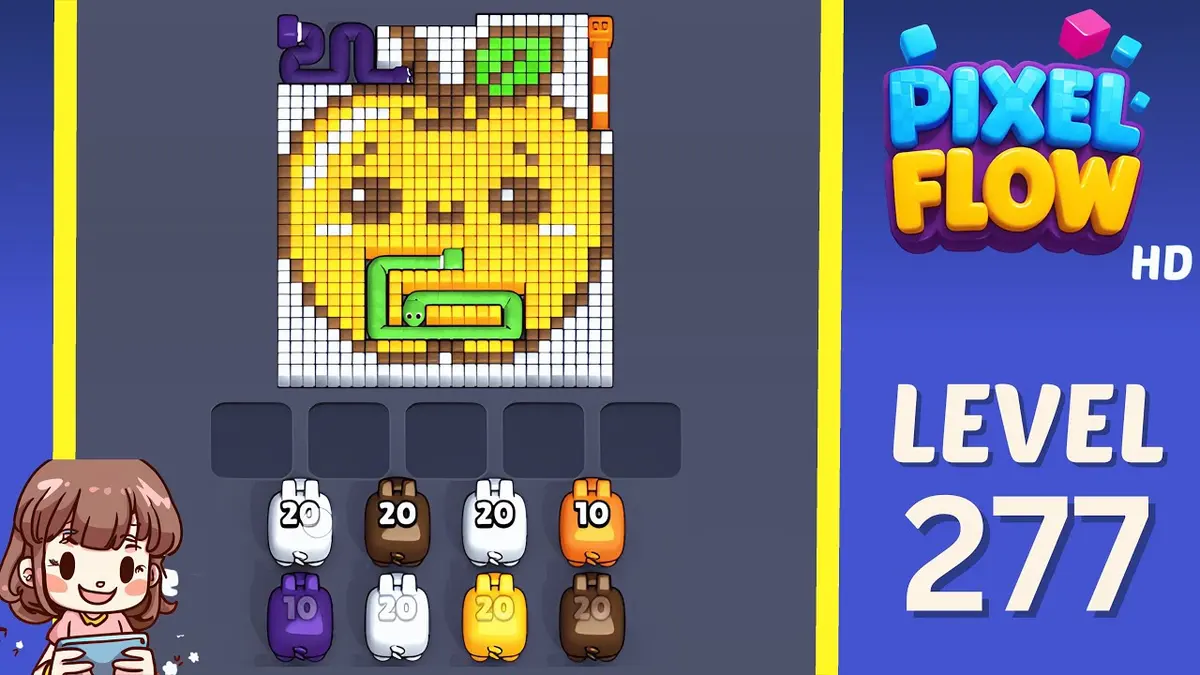
Move through this range by picture.
Use nearby pages when your board has the same level band but the picture is slightly different.
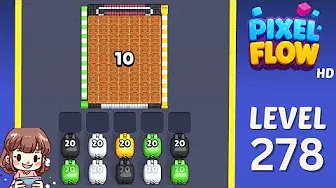
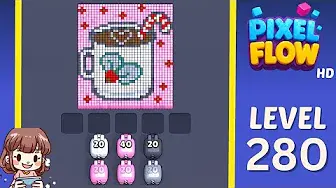
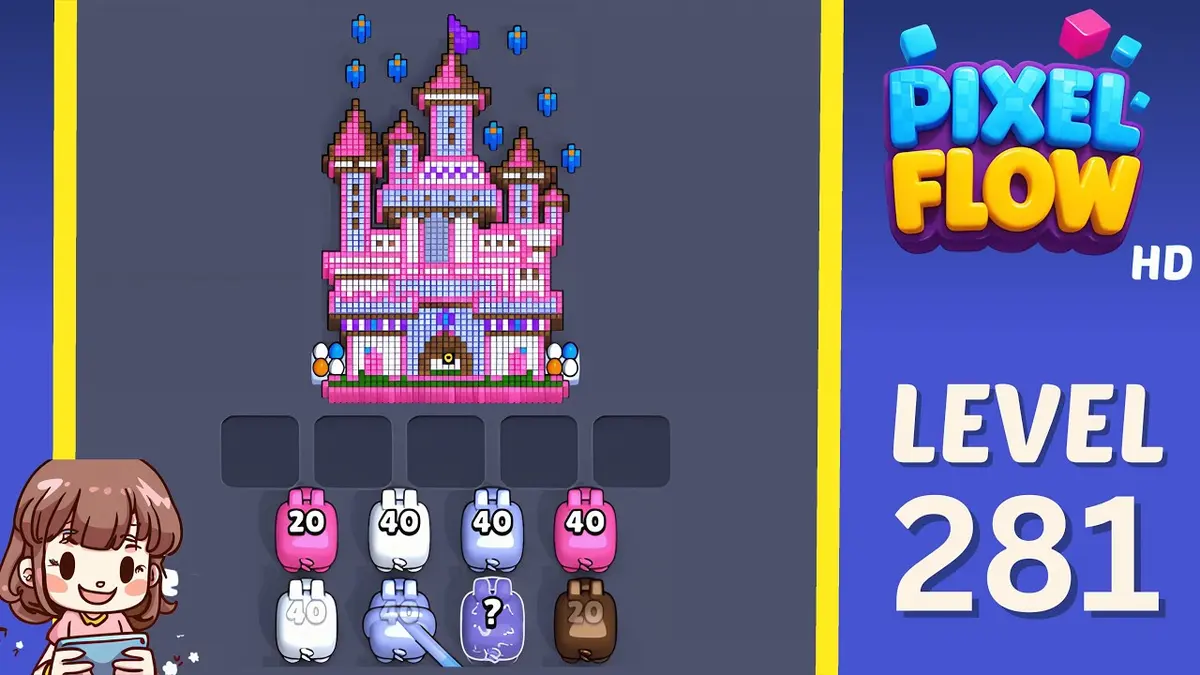
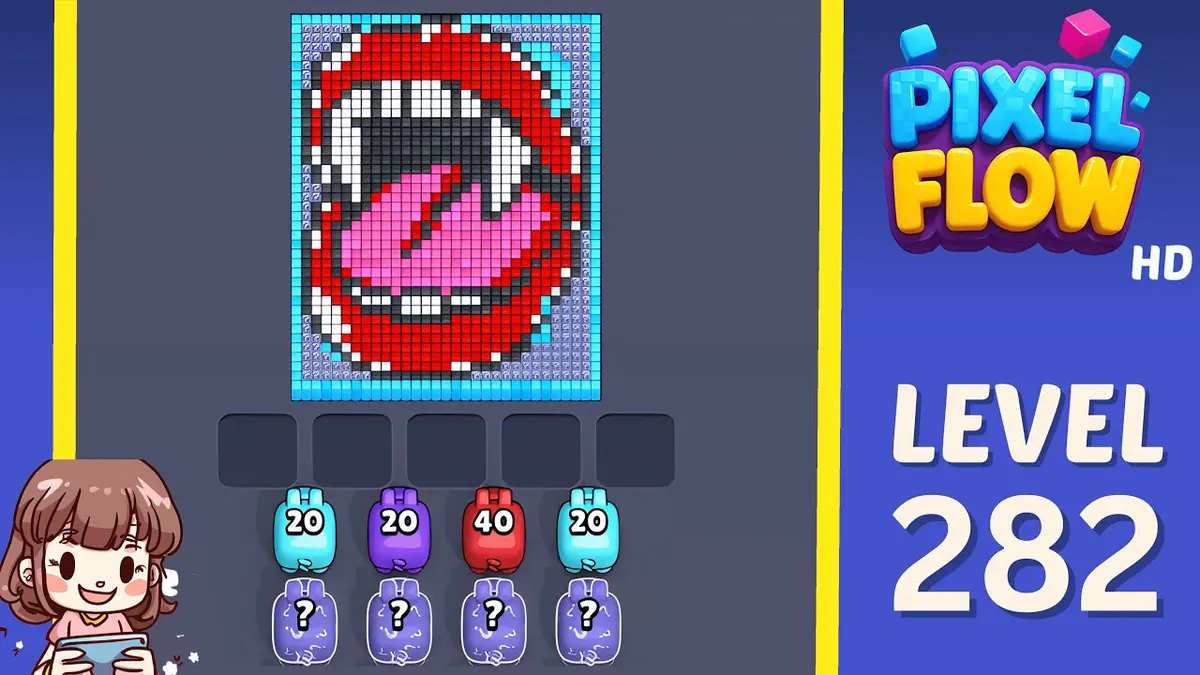
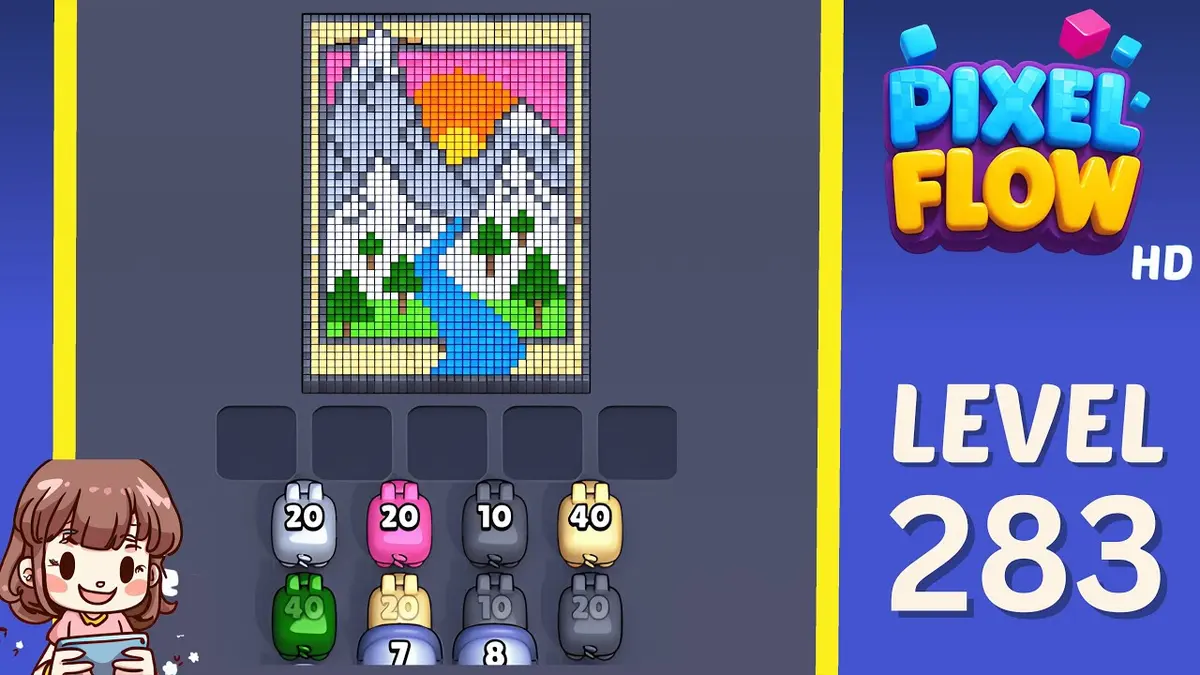
Nearby range
Browse the level range.
Open a few boards in the same small band when the level number is close but the image does not match.
Enhanced Guides
Open route logic near this board.
These pages may not be the same layout, but they show useful opener, tray, and booster decisions for nearby hard boards.
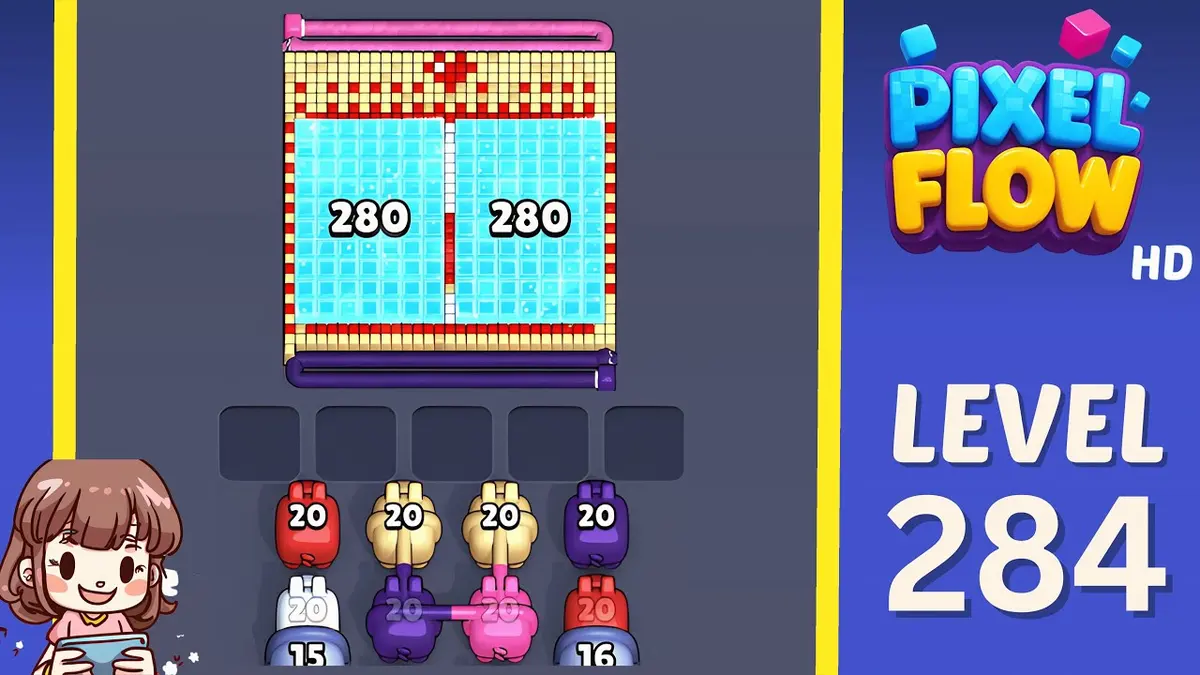
Level 284
Enhanced
Start with the first color window that can clear fully. A useful opener should remove a connected group or create a wider lane, not just spend a few easy pixels.
Open Guide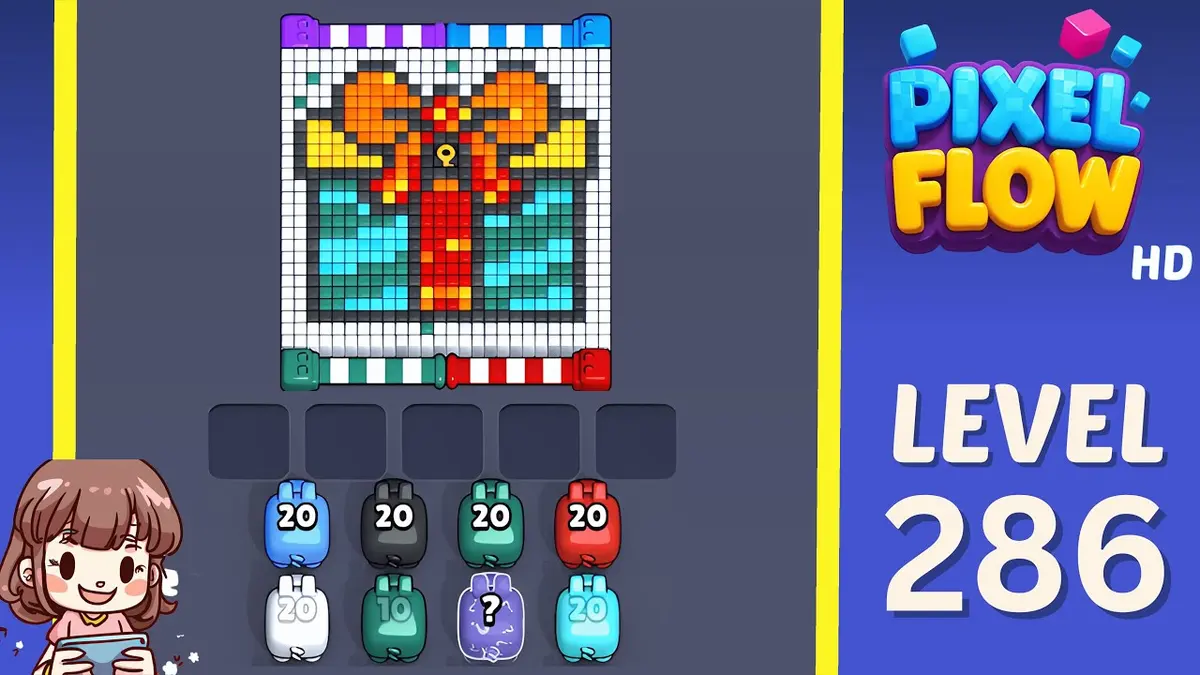
Level 286
Enhanced
Start with the first color window that can clear fully. A useful opener should remove a connected group or create a wider lane, not just spend a few easy pixels.
Open Guide
Level 299
Late beginner wall
Delay mixed colors and clear the cleanest wall first to create a larger shooting lane.
Open Guide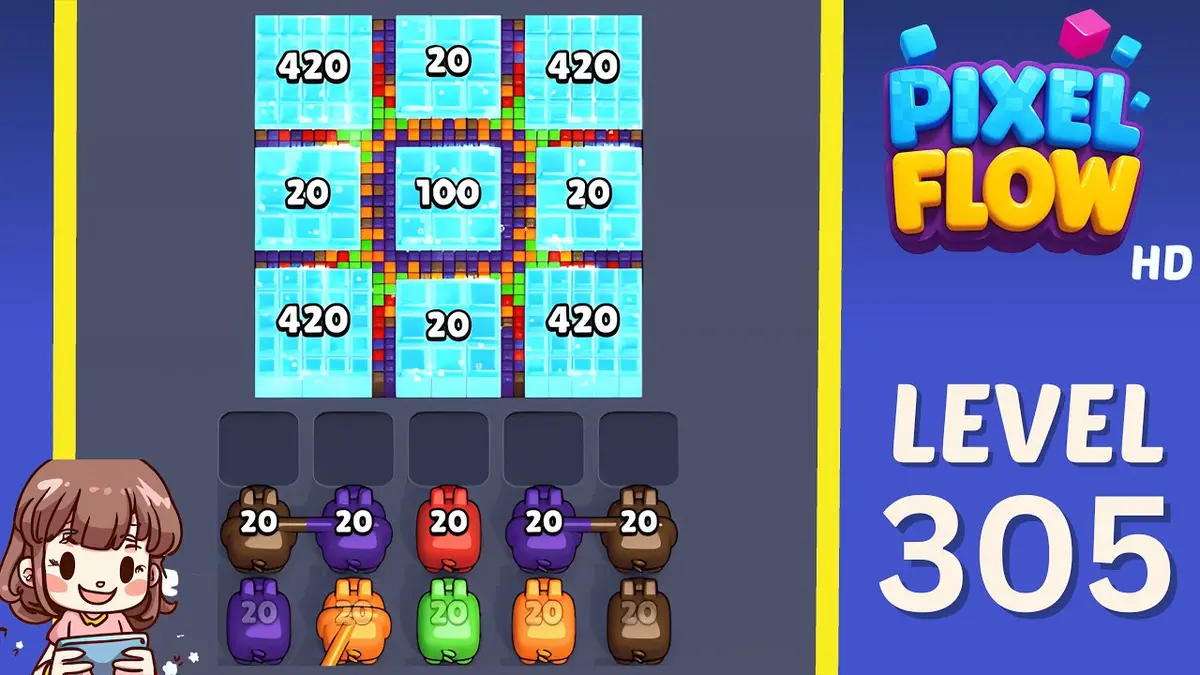
Level 305
Enhanced
Start with the first color window that can clear fully. A useful opener should remove a connected group or create a wider lane, not just spend a few easy pixels.
Open Guide
Comments
Comments (3)