
見た目の手がかりを確認してから、ルートのヒント、失敗点、ブースター判断、動画補助を見ます。
強化
Pixel Flow レベル 645
This board reads like a stained-glass tile: a white outer cage, four hot-pink corner groups, a black center cross, and cyan 10-hit locks sitting over the inner colors.
ボードパスポート
単一レベルの作業台として使ってください。
見た目の手がかりを確認してから、ルートのヒント、失敗点、ブースター判断、動画補助を見ます。
Confirm white outer cage and four pink corners first; switch to screenshot matching if either clue is missing.
Open the player only after the cover looks close to your board. If the shape or first exposed colors differ, use the screenshot matcher first.
同じレベル番号でも別のボードになることがあるので、画像で照合します。
注目点
white outer cagefour pink cornersblack center crosscyan 10-hit lockssymmetrical tile shape
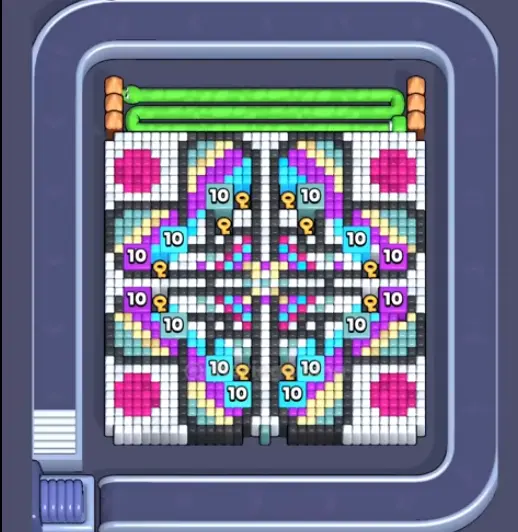
Kaleidoscope lock board
- Confirm white outer cage and four pink corners first; switch to screenshot matching if either clue is missing.
- This board reads like a stained-glass tile: a white outer cage, four hot-pink corner groups, a black center cross, and cyan 10-hit locks sitting over the inner colors.
- Start with the white perimeter because it separates the four quadrants. Once the cage breaks, use grouped pink corners and then work into the cyan locks.
- The cyan 10-hit blocks are ammo sinks. If you feed them weak pigs while the outer cage still stands, the tray fills before the inner cross opens.
- Add Tray is only worth it when two strong pigs can both spend into the white cage or cyan locks. Hand is better when one bad stored pig blocks a lock-breaking color. ガイドを開く
- If you do not see the white cage, four pink corners, and cyan numbered locks, this is not the same Level 645 route.
強化ガイド
この順番で確認してください。
Enhanced pages add board-specific judgment. They still start with the picture because a close level number can hide a different layout.
Confirm the stained-glass layout
White border, pink corners, black cross, and cyan numbered locks should all be visible.
Break the white cage first
The perimeter unlocks access to the four quadrants and keeps later shots from wasting ammo.
Respect the cyan locks
Treat each 10-hit block as a planned ammo spend, not a place to dump weak leftovers.
Clean inner colors after the cross opens
The center becomes safe only after the outer cage and lock blockers stop controlling the route.
強化ガイド
Kaleidoscope lock board: プレイ前にここを確認。
Use these notes when the board image matches your screen. If the shape differs, jump to screenshot matching before spending boosters.
画像一致
This board reads like a stained-glass tile: a white outer cage, four hot-pink corner groups, a black center cross, and cyan 10-hit locks sitting over the inner colors.
最初の一手一致
Start with the white perimeter because it separates the four quadrants. Once the cage breaks, use grouped pink corners and then work into the cyan locks.
ブースター一致
The cyan 10-hit blocks are ammo sinks. If you feed them weak pigs while the outer cage still stands, the tray fills before the inner cross opens.
ブースター一致
Add Tray is only worth it when two strong pigs can both spend into the white cage or cyan locks. Hand is better when one bad stored pig blocks a lock-breaking color.
注目点
white outer cagefour pink cornersblack center crosscyan 10-hit lockssymmetrical tile shape
同じレベル番号でも別のボードになることがあるので、画像で照合します。
Start with the white perimeter because it separates the four quadrants. Once the cage breaks, use grouped pink corners and then work into the cyan locks.
ブースターが次の一手を変えるのか、失敗を遅らせるだけかを見極めます。
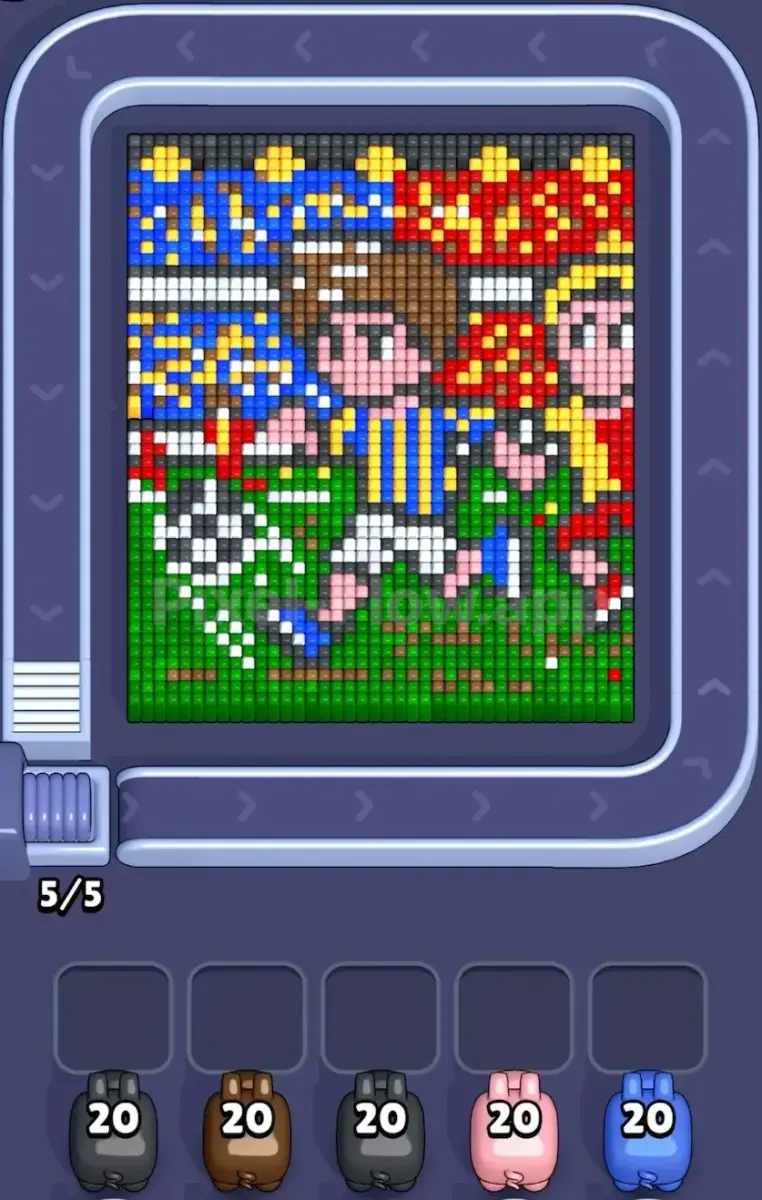
Start
Outer cage
Use this frame to confirm the white perimeter and pink corner groups before following the route.
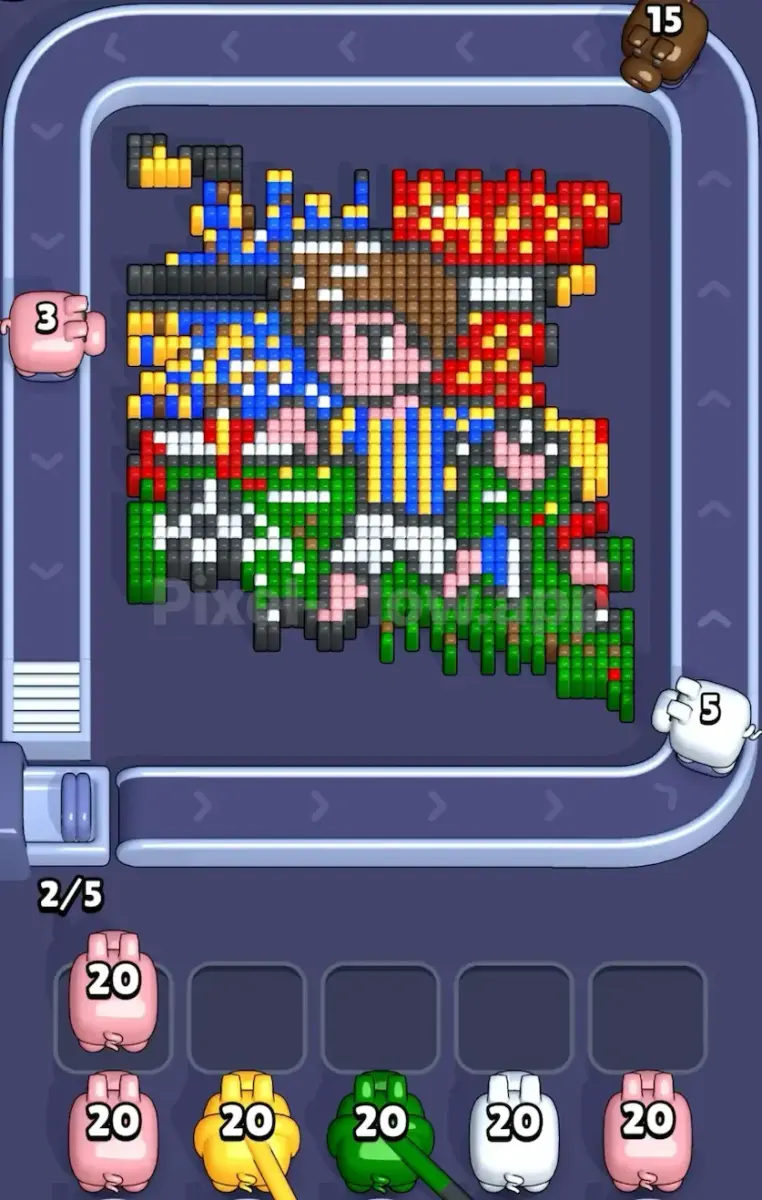
Break
Lock pressure
The first useful progress is opening enough space to spend ammo on the inner cyan locks.
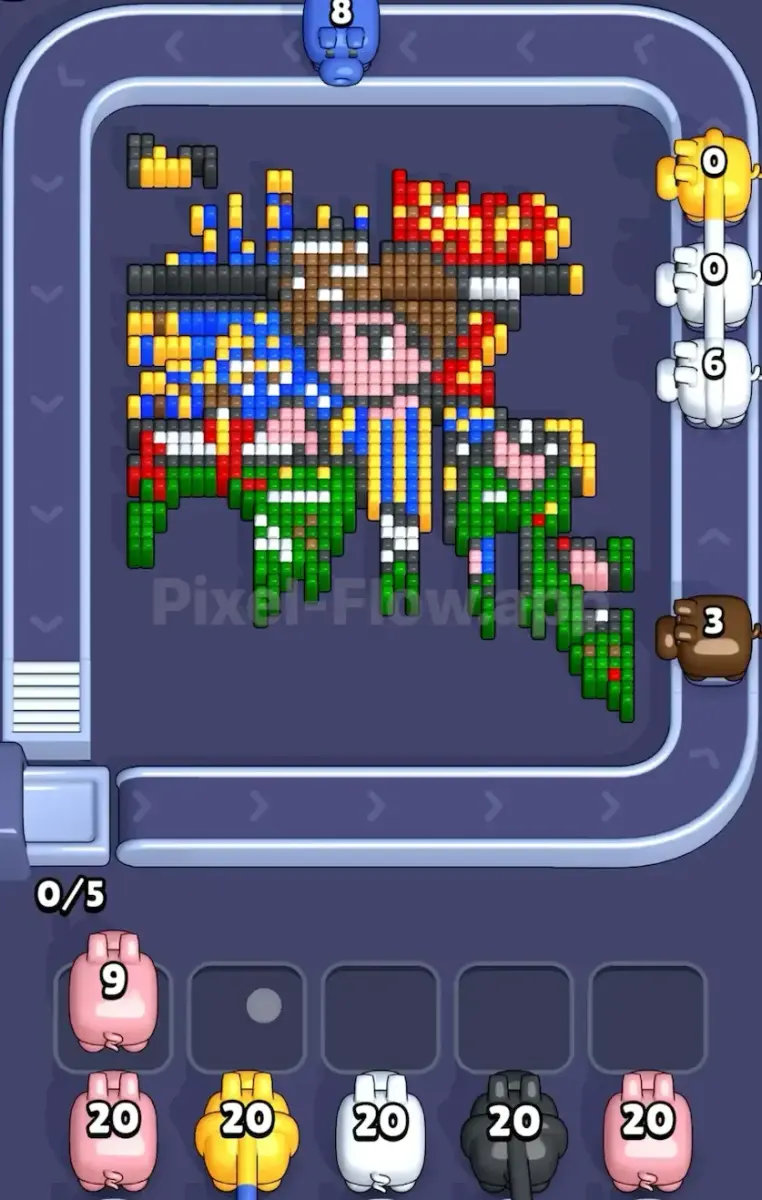
Finish
Center cleanup
Only clean the center once the cage and lock pressure are under control.
ブースター確認
ブースターを使う前にこの手順を通す。
Enhanced pages are built around board reading: confirm the picture, find the opener, control the five slots, then decide whether a booster actually changes the next move.
Confirm the stained-glass layout
White border, pink corners, black cross, and cyan numbered locks should all be visible.
Break the white cage first
The perimeter unlocks access to the four quadrants and keeps later shots from wasting ammo.
Respect the cyan locks
Treat each 10-hit block as a planned ammo spend, not a place to dump weak leftovers.
Clean inner colors after the cross opens
The center becomes safe only after the outer cage and lock blockers stop controlling the route.
動画
再生前にサムネイルでボードを確認。
Open the player only after the cover looks close to your board. If the shape or first exposed colors differ, use the screenshot matcher first.
盤面ページ
このボードでプレイヤーが気づいたこと。
Short route clues, booster reminders, and wrong-layout warnings stay attached to this exact board image.
I wait until the white outer cage and four pink corners both line up. If one clue is off, I assume it is a different board with the same level number.
The cyan 10-hit blocks are ammo sinks. If you feed them weak pigs while the outer cage still stands, the tray fills before the inner cross opens.
Add Tray is only worth it when two strong pigs can both spend into the white cage or cyan locks. Hand is better when one bad stored pig blocks a lock-breaking color. I check the opener first, then decide whether the extra slot actually changes the next move.
このボードにはまだプレイヤーの手がかりがありません。
レイアウトを試したあとに手がかりを追加すると、次のルートが読みやすくなります。
ソルバーを開く
同じ番号でも別のボード?
Match your screenshot against 2020 board visuals, then return to the closest level page once the picture lines up.
近い盤面
画像でこの範囲を移動。
Use nearby pages when your board has the same level band but the picture is slightly different.
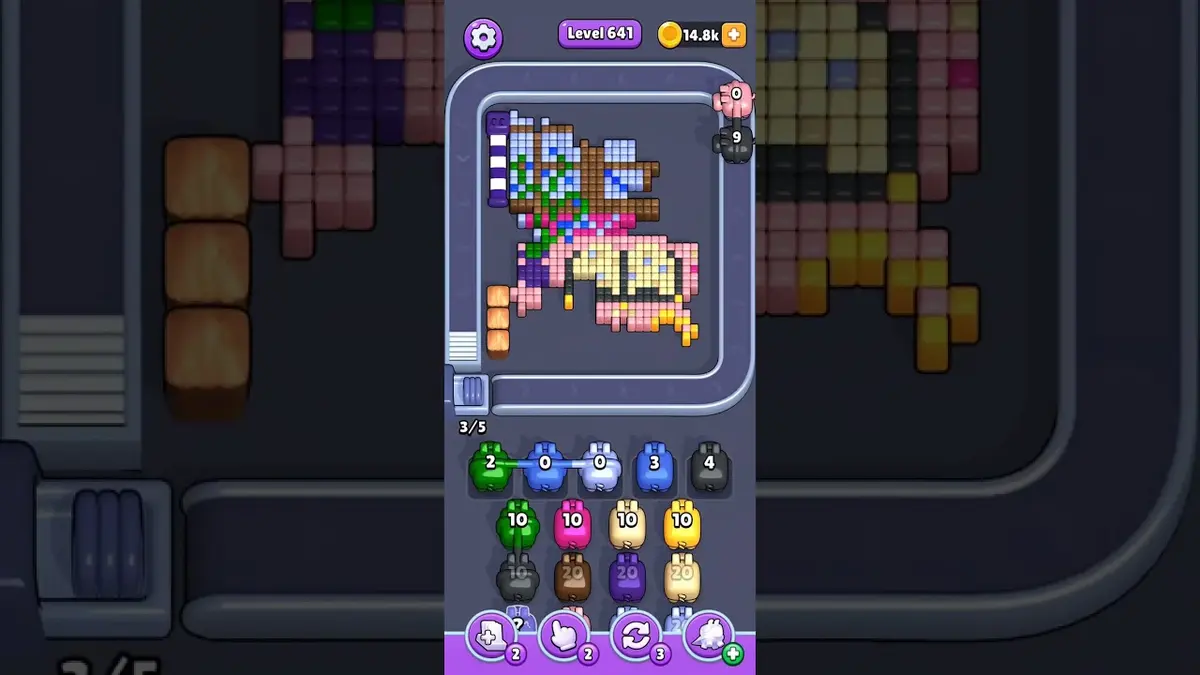
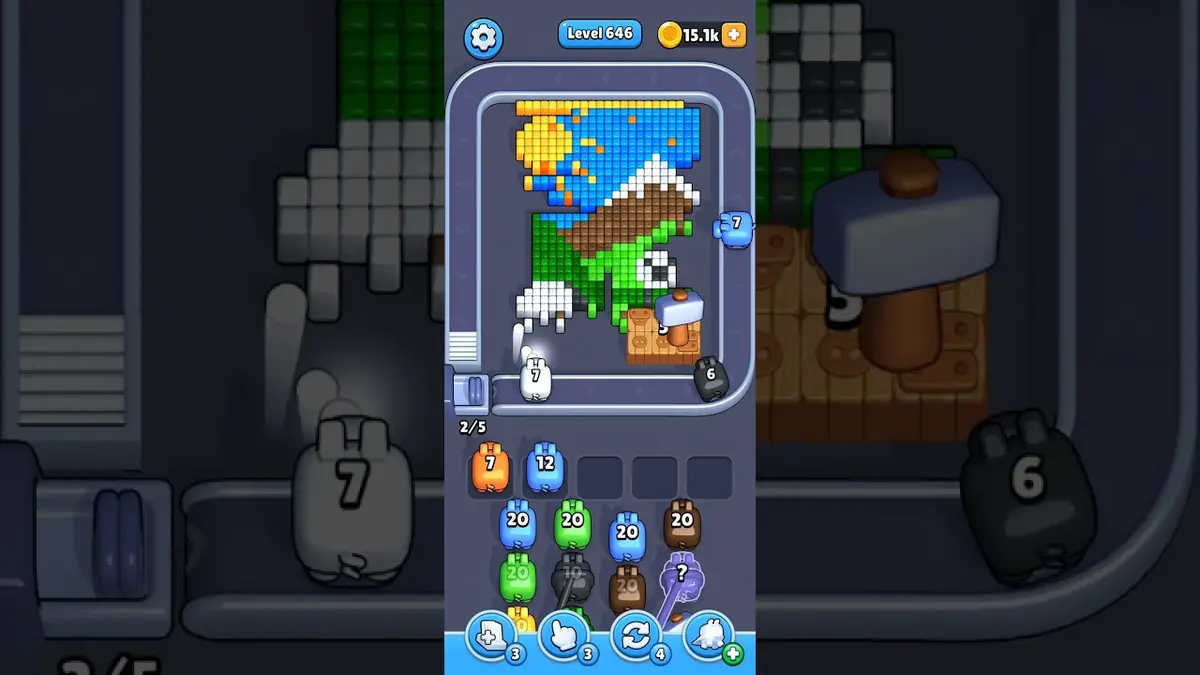
近い範囲
レベル範囲を見る。
Open a few boards in the same small band when the level number is close but the image does not match.
強化ガイド
このボード近くのルートロジックを開く。
These pages may not be the same layout, but they show useful opener, tray, and booster decisions for nearby hard boards.
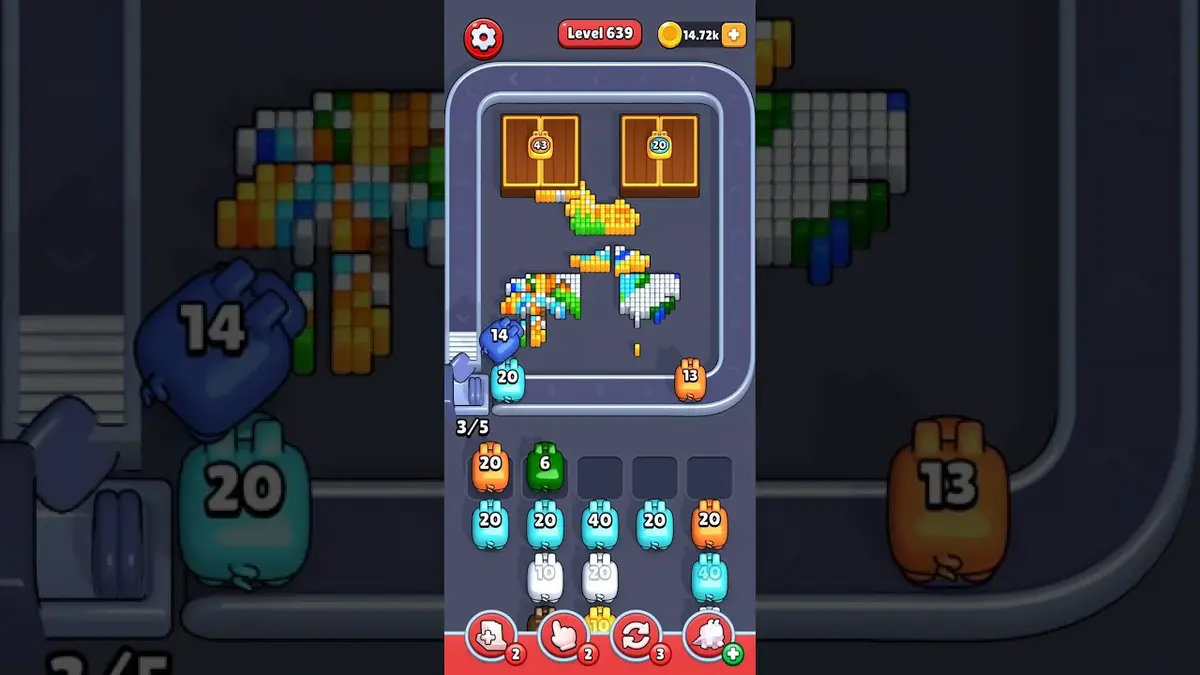
レベル 639
強化
Start with the first color window that can clear fully. A useful opener should remove a connected group or create a wider lane, not just spend a few easy pixels.
ガイドを開く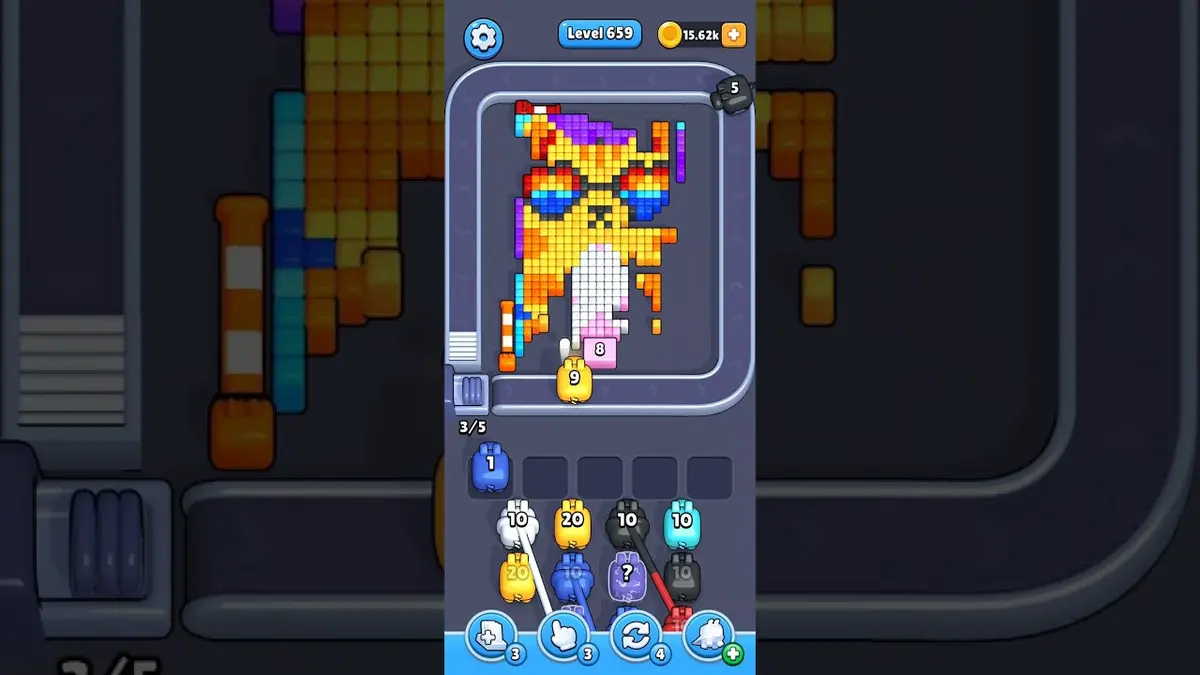
レベル 659
強化
Start with the first color window that can clear fully. A useful opener should remove a connected group or create a wider lane, not just spend a few easy pixels.
ガイドを開く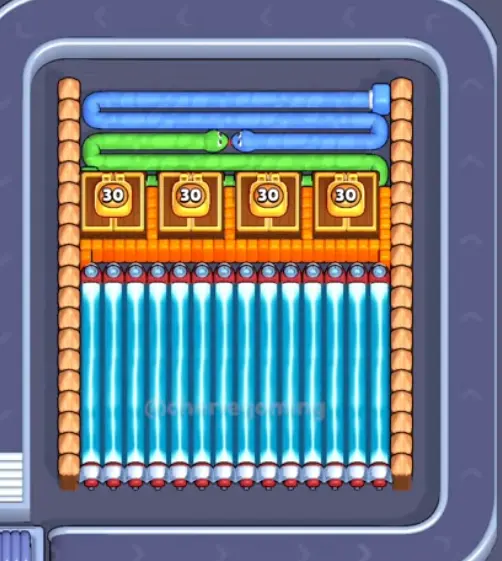
レベル 660
強化
Start with the first color window that can clear fully. A useful opener should remove a connected group or create a wider lane, not just spend a few easy pixels.
ガイドを開く
コメント
コメント (3)