
Confirma las pistas visuales y luego revisa la ruta, el punto de fallo, la decisión de potenciador y la ayuda en video.
Mejorado
Pixel Flow Nivel 645
This board reads like a stained-glass tile: a white outer cage, four hot-pink corner groups, a black center cross, and cyan 10-hit locks sitting over the inner colors.
Pasaporte del tablero
Úsalo como taller de un solo nivel.
Confirma las pistas visuales y luego revisa la ruta, el punto de fallo, la decisión de potenciador y la ayuda en video.
Confirm white outer cage and four pink corners first; switch to screenshot matching if either clue is missing.
Open the player only after the cover looks close to your board. If the shape or first exposed colors differ, use the screenshot matcher first.
Usa la coincidencia por imagen cuando el mismo número de nivel pueda mostrar otro tablero.
Buscar
white outer cagefour pink cornersblack center crosscyan 10-hit lockssymmetrical tile shape
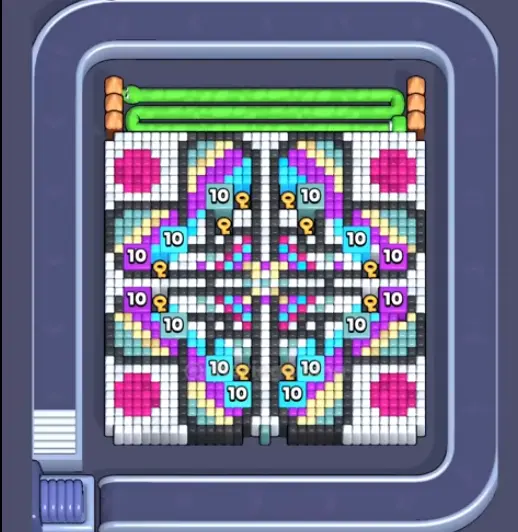
Kaleidoscope lock board
- Confirm white outer cage and four pink corners first; switch to screenshot matching if either clue is missing.
- This board reads like a stained-glass tile: a white outer cage, four hot-pink corner groups, a black center cross, and cyan 10-hit locks sitting over the inner colors.
- Start with the white perimeter because it separates the four quadrants. Once the cage breaks, use grouped pink corners and then work into the cyan locks.
- The cyan 10-hit blocks are ammo sinks. If you feed them weak pigs while the outer cage still stands, the tray fills before the inner cross opens.
- Add Tray is only worth it when two strong pigs can both spend into the white cage or cyan locks. Hand is better when one bad stored pig blocks a lock-breaking color. Abrir guía
- If you do not see the white cage, four pink corners, and cyan numbered locks, this is not the same Level 645 route.
Guías mejoradas
Verifica en este orden.
Enhanced pages add board-specific judgment. They still start with the picture because a close level number can hide a different layout.
Confirm the stained-glass layout
White border, pink corners, black cross, and cyan numbered locks should all be visible.
Break the white cage first
The perimeter unlocks access to the four quadrants and keeps later shots from wasting ammo.
Respect the cyan locks
Treat each 10-hit block as a planned ammo spend, not a place to dump weak leftovers.
Clean inner colors after the cross opens
The center becomes safe only after the outer cage and lock blockers stop controlling the route.
Guías mejoradas
Kaleidoscope lock board: Revisa esto antes de jugar.
Use these notes when the board image matches your screen. If the shape differs, jump to screenshot matching before spending boosters.
Coincidencia visual
This board reads like a stained-glass tile: a white outer cage, four hot-pink corner groups, a black center cross, and cyan 10-hit locks sitting over the inner colors.
Coincidencia del inicio
Start with the white perimeter because it separates the four quadrants. Once the cage breaks, use grouped pink corners and then work into the cyan locks.
Coincidencia de potenciador
The cyan 10-hit blocks are ammo sinks. If you feed them weak pigs while the outer cage still stands, the tray fills before the inner cross opens.
Coincidencia de potenciador
Add Tray is only worth it when two strong pigs can both spend into the white cage or cyan locks. Hand is better when one bad stored pig blocks a lock-breaking color.
Buscar
white outer cagefour pink cornersblack center crosscyan 10-hit lockssymmetrical tile shape
Usa la coincidencia por imagen cuando el mismo número de nivel pueda mostrar otro tablero.
Start with the white perimeter because it separates the four quadrants. Once the cage breaks, use grouped pink corners and then work into the cyan locks.
Decide si un potenciador cambia la siguiente jugada o solo retrasa una mala partida.
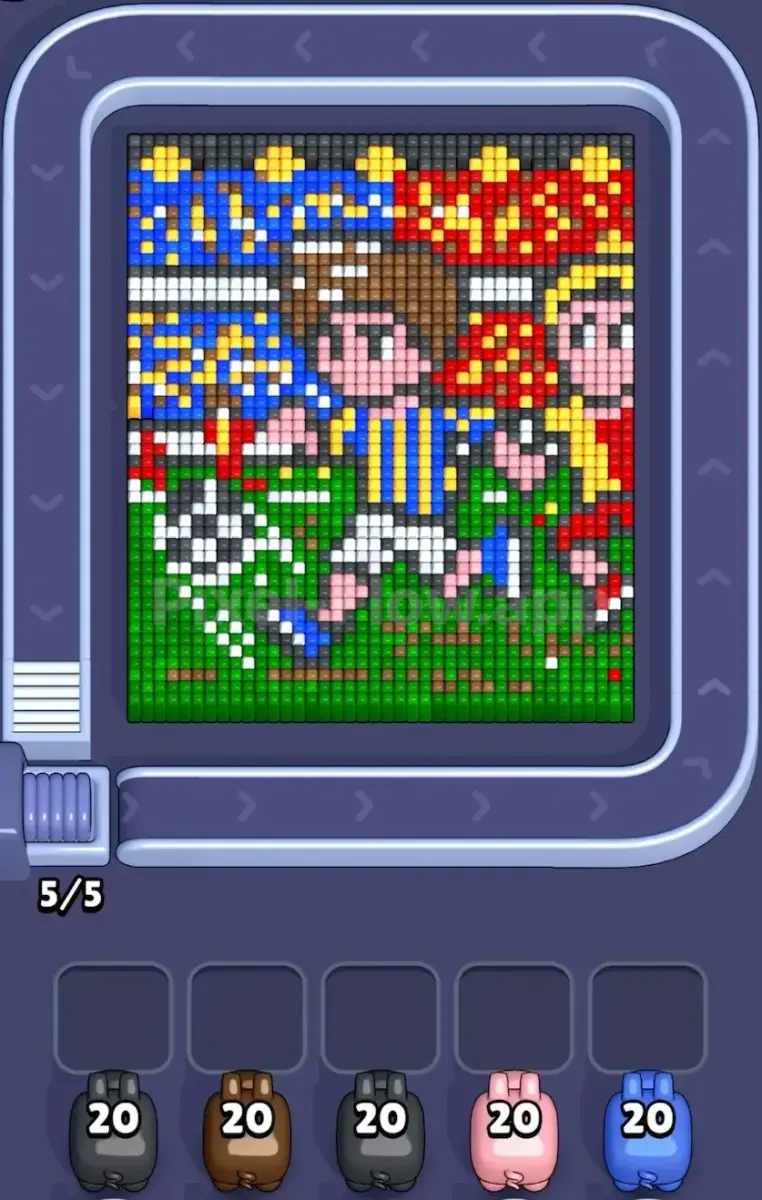
Start
Outer cage
Use this frame to confirm the white perimeter and pink corner groups before following the route.
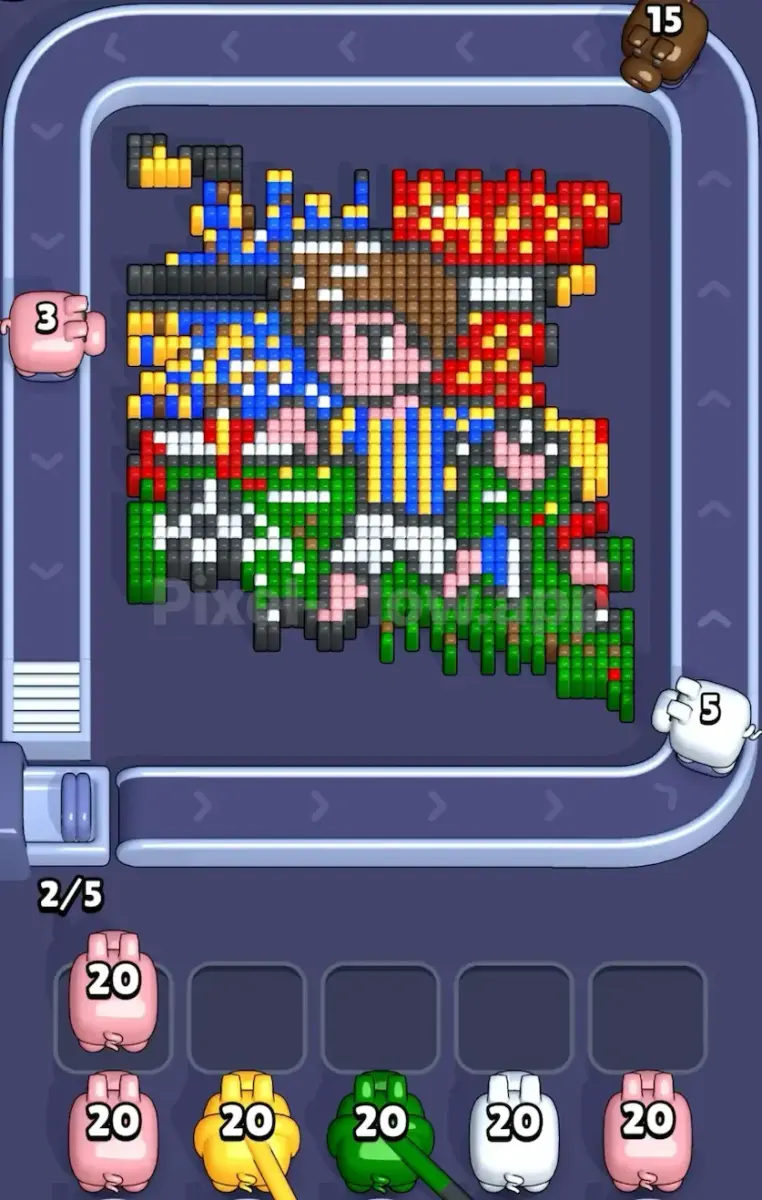
Break
Lock pressure
The first useful progress is opening enough space to spend ammo on the inner cyan locks.
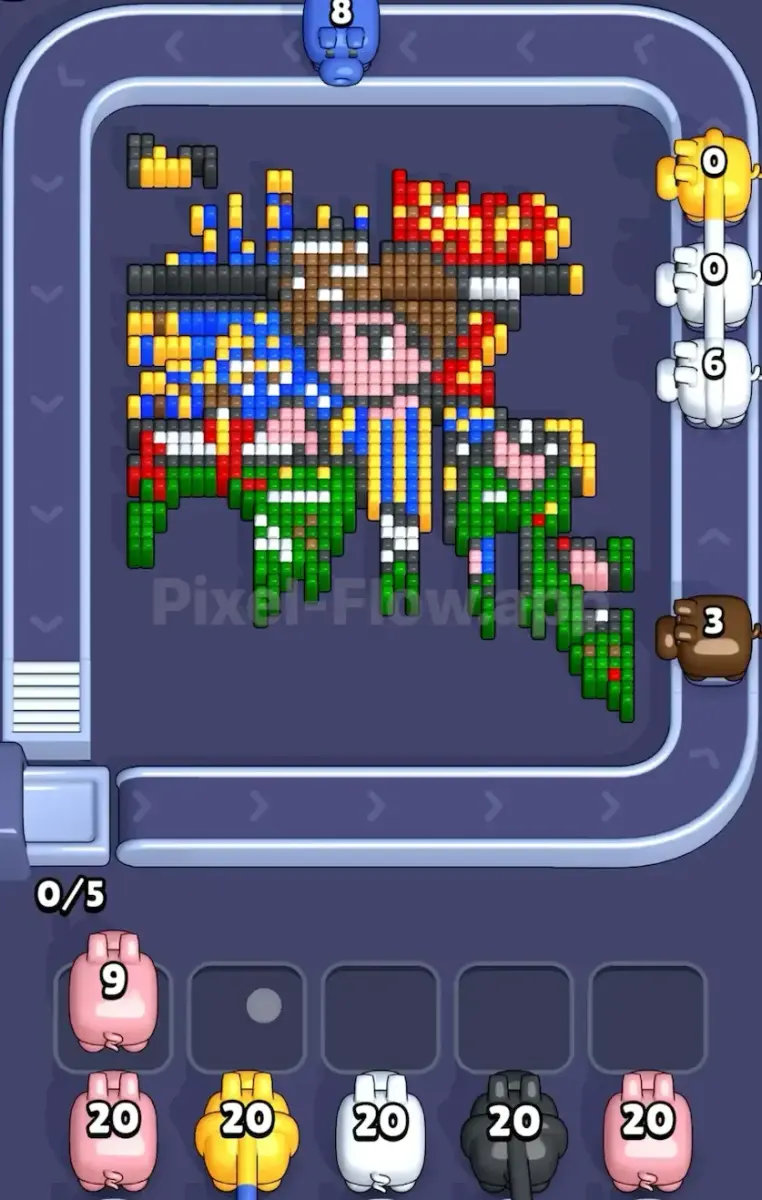
Finish
Center cleanup
Only clean the center once the cage and lock pressure are under control.
Revisar potenciadores
Sigue este paso antes de usar un potenciador.
Enhanced pages are built around board reading: confirm the picture, find the opener, control the five slots, then decide whether a booster actually changes the next move.
Confirm the stained-glass layout
White border, pink corners, black cross, and cyan numbered locks should all be visible.
Break the white cage first
The perimeter unlocks access to the four quadrants and keeps later shots from wasting ammo.
Respect the cyan locks
Treat each 10-hit block as a planned ammo spend, not a place to dump weak leftovers.
Clean inner colors after the cross opens
The center becomes safe only after the outer cage and lock blockers stop controlling the route.
Video
Usa la miniatura para verificar el tablero antes de jugar.
Open the player only after the cover looks close to your board. If the shape or first exposed colors differ, use the screenshot matcher first.
Páginas de tablero
Lo que los jugadores notaron en este tablero.
Short route clues, booster reminders, and wrong-layout warnings stay attached to this exact board image.
I wait until the white outer cage and four pink corners both line up. If one clue is off, I assume it is a different board with the same level number.
The cyan 10-hit blocks are ammo sinks. If you feed them weak pigs while the outer cage still stands, the tray fills before the inner cross opens.
Add Tray is only worth it when two strong pigs can both spend into the white cage or cyan locks. Hand is better when one bad stored pig blocks a lock-breaking color. I check the opener first, then decide whether the extra slot actually changes the next move.
Aún no hay pistas de jugadores en este tablero.
Añade una pista después de probar el diseño para que la siguiente ruta sea más fácil de leer.
Abrir solucionador
¿El mismo número, pero otro tablero?
Match your screenshot against 2020 board visuals, then return to the closest level page once the picture lines up.
Tablero cercano
Muévete por este rango con la imagen.
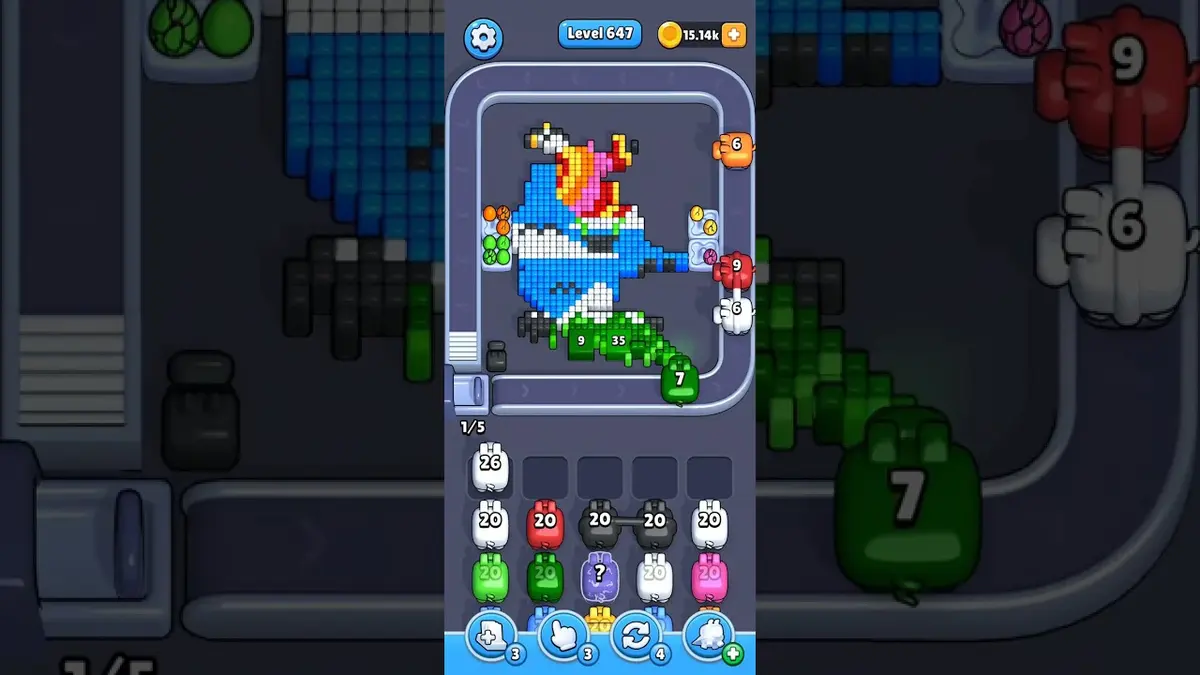
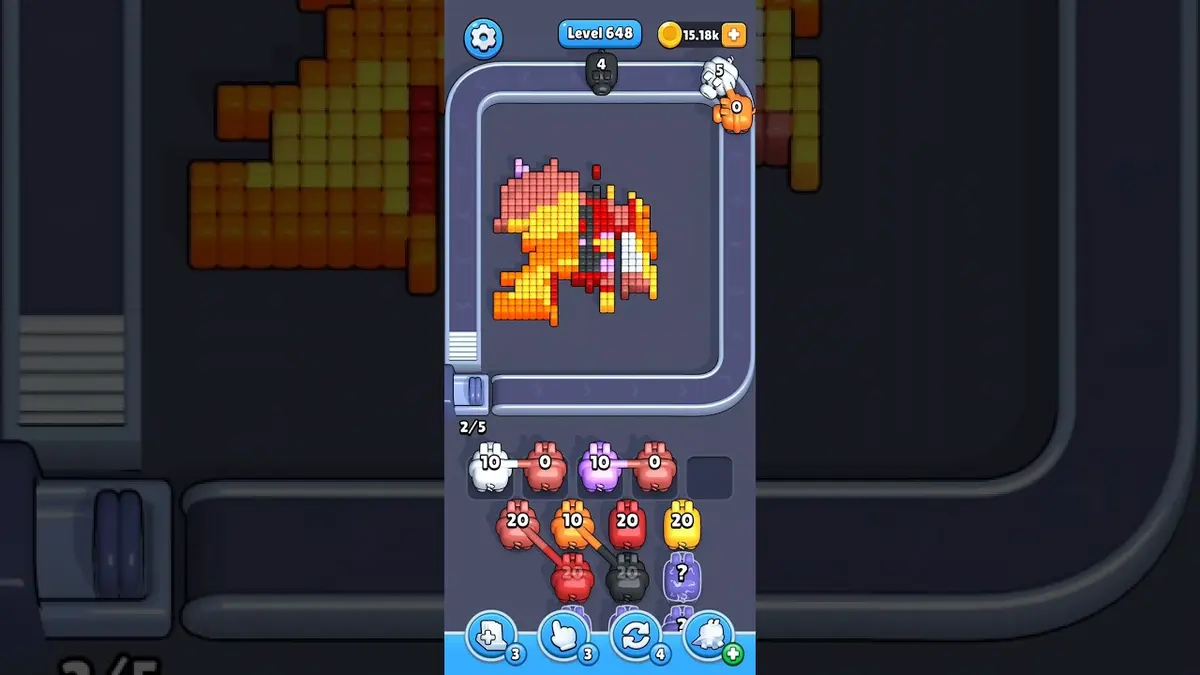
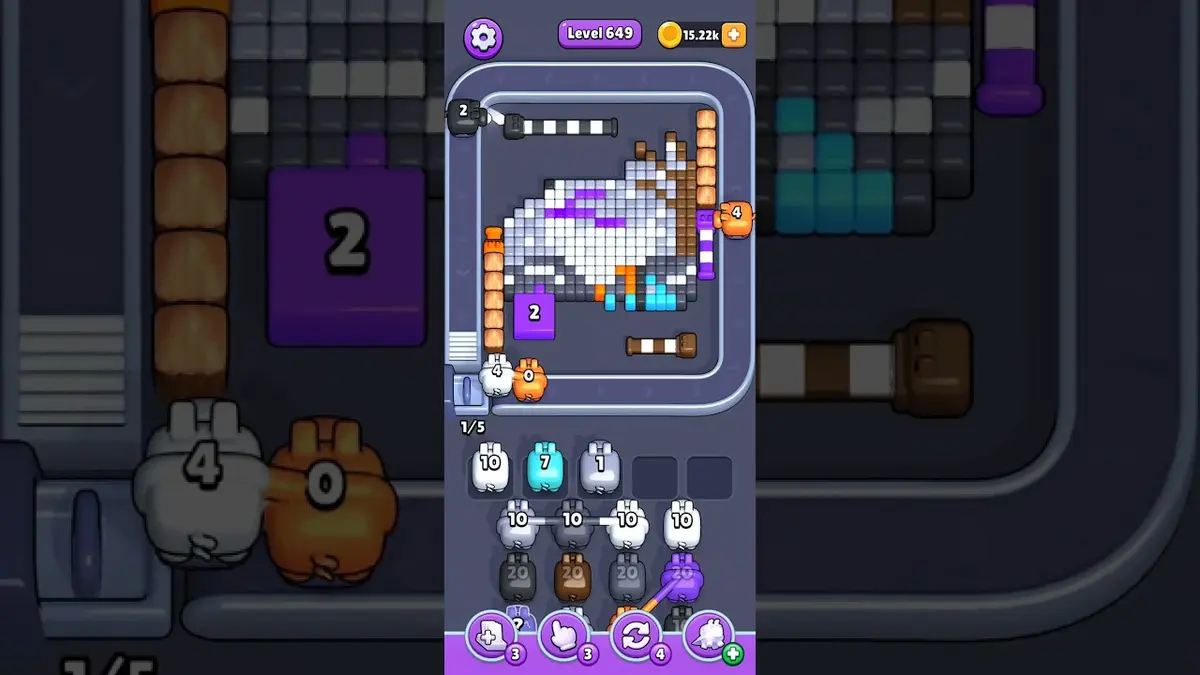
Use nearby pages when your board has the same level band but the picture is slightly different.
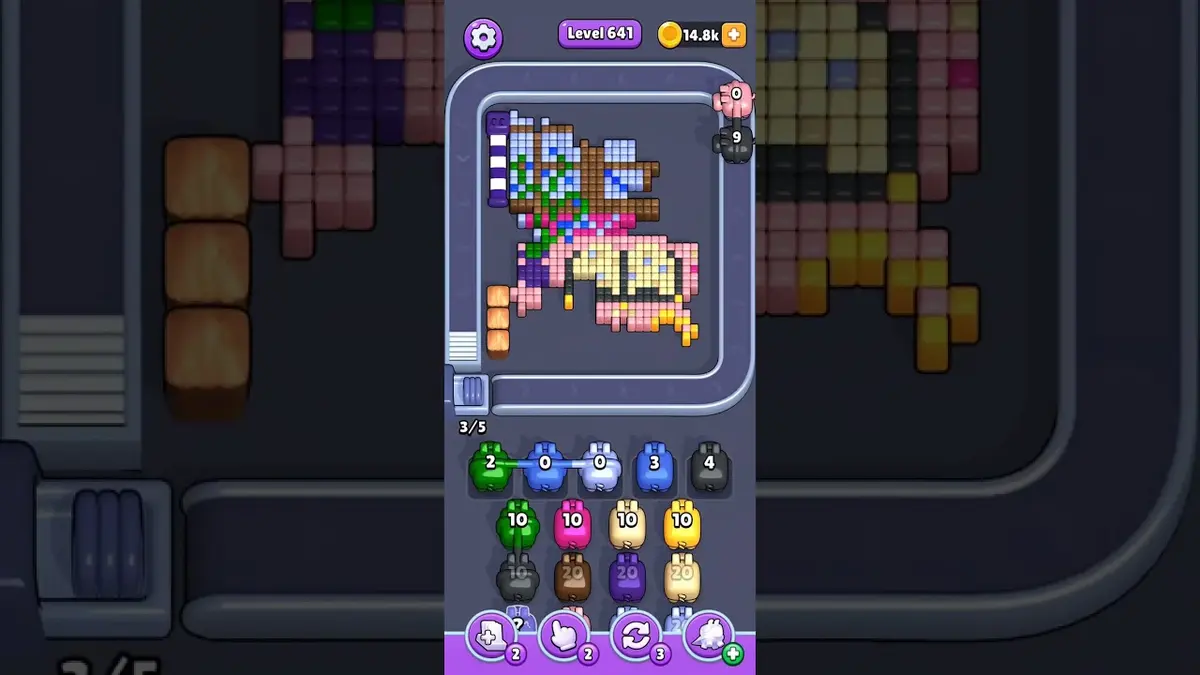
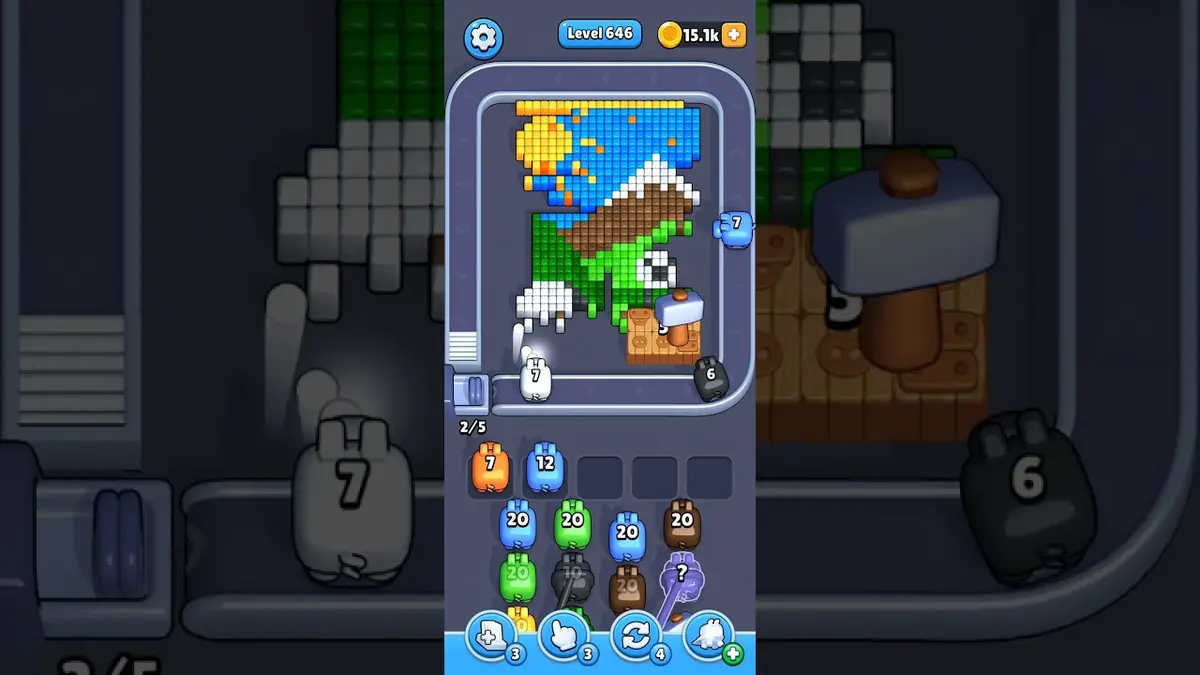
Rango cercano
Explora el rango de niveles.
Open a few boards in the same small band when the level number is close but the image does not match.
Guías mejoradas
Abre la lógica de ruta cerca de este tablero.
These pages may not be the same layout, but they show useful opener, tray, and booster decisions for nearby hard boards.
Nivel 643
Heavy slot pressure
Reject low-value pigs until the first wall color has a clear lane.
Abrir guía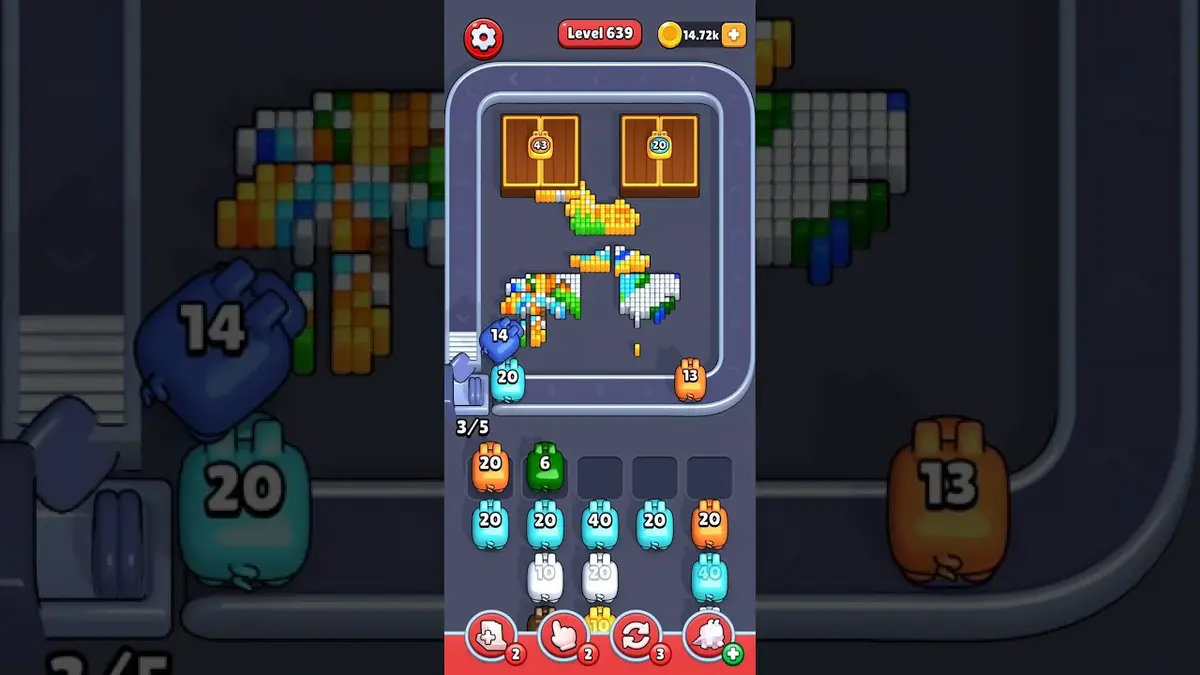
Nivel 639
Mejorado
Start with the first color window that can clear fully. A useful opener should remove a connected group or create a wider lane, not just spend a few easy pixels.
Abrir guía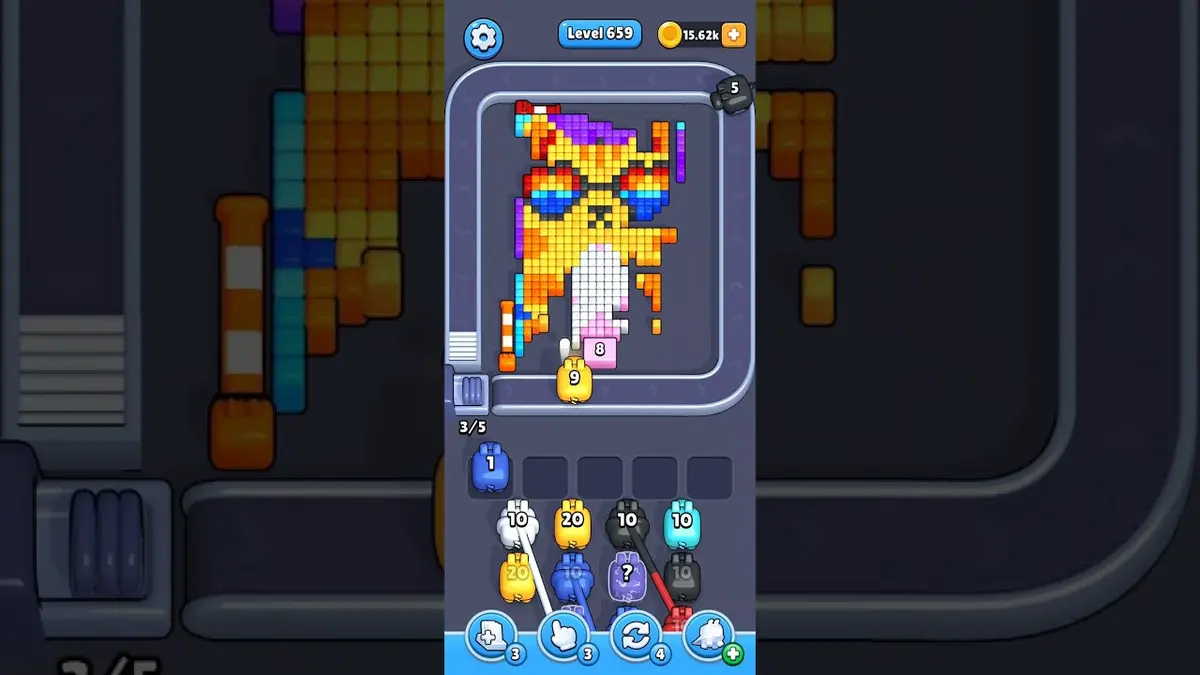
Nivel 659
Mejorado
Start with the first color window that can clear fully. A useful opener should remove a connected group or create a wider lane, not just spend a few easy pixels.
Abrir guía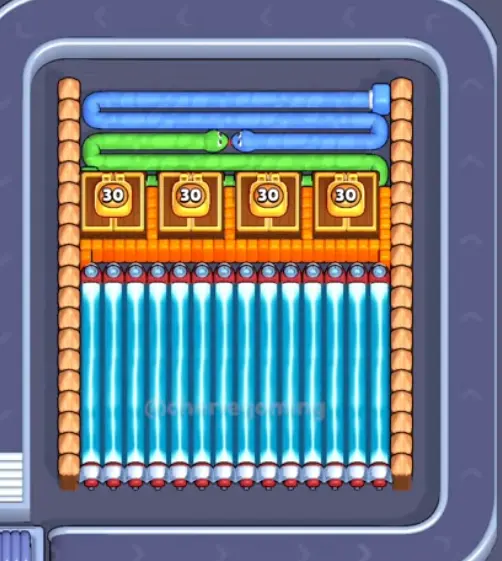
Nivel 660
Mejorado
Start with the first color window that can clear fully. A useful opener should remove a connected group or create a wider lane, not just spend a few easy pixels.
Abrir guía
Comentarios
Comentarios (3)