
Konfirmasi petunjuk visual lalu lihat rute, titik gagal, keputusan booster, dan bantuan video.
Lengkap
Pixel Flow Level 645
This board reads like a stained-glass tile: a white outer cage, four hot-pink corner groups, a black center cross, and cyan 10-hit locks sitting over the inner colors.
Paspor papan
Gunakan sebagai meja kerja satu level.
Konfirmasi petunjuk visual lalu lihat rute, titik gagal, keputusan booster, dan bantuan video.
Confirm white outer cage and four pink corners first; switch to screenshot matching if either clue is missing.
Open the player only after the cover looks close to your board. If the shape or first exposed colors differ, use the screenshot matcher first.
Gunakan pencocokan gambar saat nomor level yang sama bisa menampilkan papan yang berbeda.
Perhatikan
white outer cagefour pink cornersblack center crosscyan 10-hit lockssymmetrical tile shape
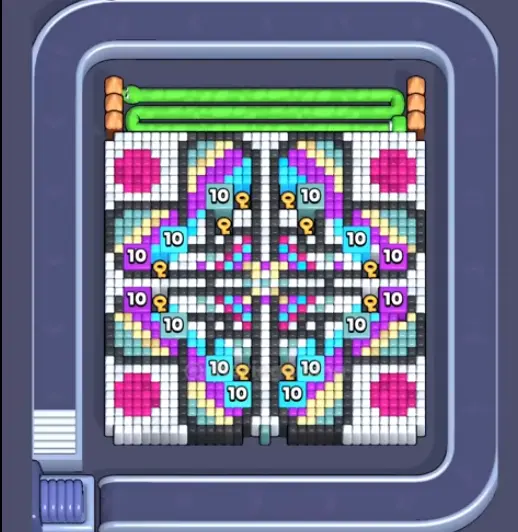
Kaleidoscope lock board
- Confirm white outer cage and four pink corners first; switch to screenshot matching if either clue is missing.
- This board reads like a stained-glass tile: a white outer cage, four hot-pink corner groups, a black center cross, and cyan 10-hit locks sitting over the inner colors.
- Start with the white perimeter because it separates the four quadrants. Once the cage breaks, use grouped pink corners and then work into the cyan locks.
- The cyan 10-hit blocks are ammo sinks. If you feed them weak pigs while the outer cage still stands, the tray fills before the inner cross opens.
- Add Tray is only worth it when two strong pigs can both spend into the white cage or cyan locks. Hand is better when one bad stored pig blocks a lock-breaking color. Buka panduan
- If you do not see the white cage, four pink corners, and cyan numbered locks, this is not the same Level 645 route.
Panduan lengkap
Periksa dengan urutan ini.
Enhanced pages add board-specific judgment. They still start with the picture because a close level number can hide a different layout.
Confirm the stained-glass layout
White border, pink corners, black cross, and cyan numbered locks should all be visible.
Break the white cage first
The perimeter unlocks access to the four quadrants and keeps later shots from wasting ammo.
Respect the cyan locks
Treat each 10-hit block as a planned ammo spend, not a place to dump weak leftovers.
Clean inner colors after the cross opens
The center becomes safe only after the outer cage and lock blockers stop controlling the route.
Panduan lengkap
Kaleidoscope lock board: Periksa ini sebelum bermain.
Use these notes when the board image matches your screen. If the shape differs, jump to screenshot matching before spending boosters.
Kecocokan gambar
This board reads like a stained-glass tile: a white outer cage, four hot-pink corner groups, a black center cross, and cyan 10-hit locks sitting over the inner colors.
Kecocokan pembuka
Start with the white perimeter because it separates the four quadrants. Once the cage breaks, use grouped pink corners and then work into the cyan locks.
Kecocokan booster
The cyan 10-hit blocks are ammo sinks. If you feed them weak pigs while the outer cage still stands, the tray fills before the inner cross opens.
Kecocokan booster
Add Tray is only worth it when two strong pigs can both spend into the white cage or cyan locks. Hand is better when one bad stored pig blocks a lock-breaking color.
Perhatikan
white outer cagefour pink cornersblack center crosscyan 10-hit lockssymmetrical tile shape
Gunakan pencocokan gambar saat nomor level yang sama bisa menampilkan papan yang berbeda.
Start with the white perimeter because it separates the four quadrants. Once the cage breaks, use grouped pink corners and then work into the cyan locks.
Tentukan apakah booster mengubah langkah berikutnya atau hanya menunda kegagalan.
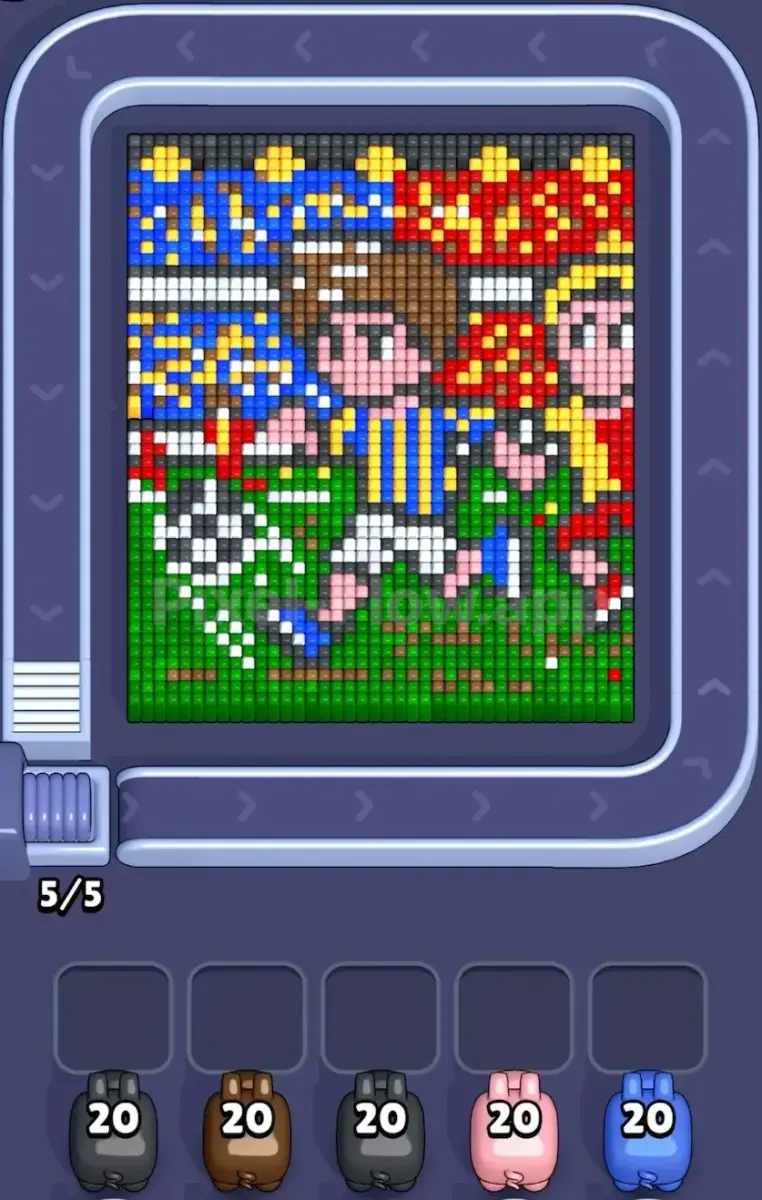
Start
Outer cage
Use this frame to confirm the white perimeter and pink corner groups before following the route.
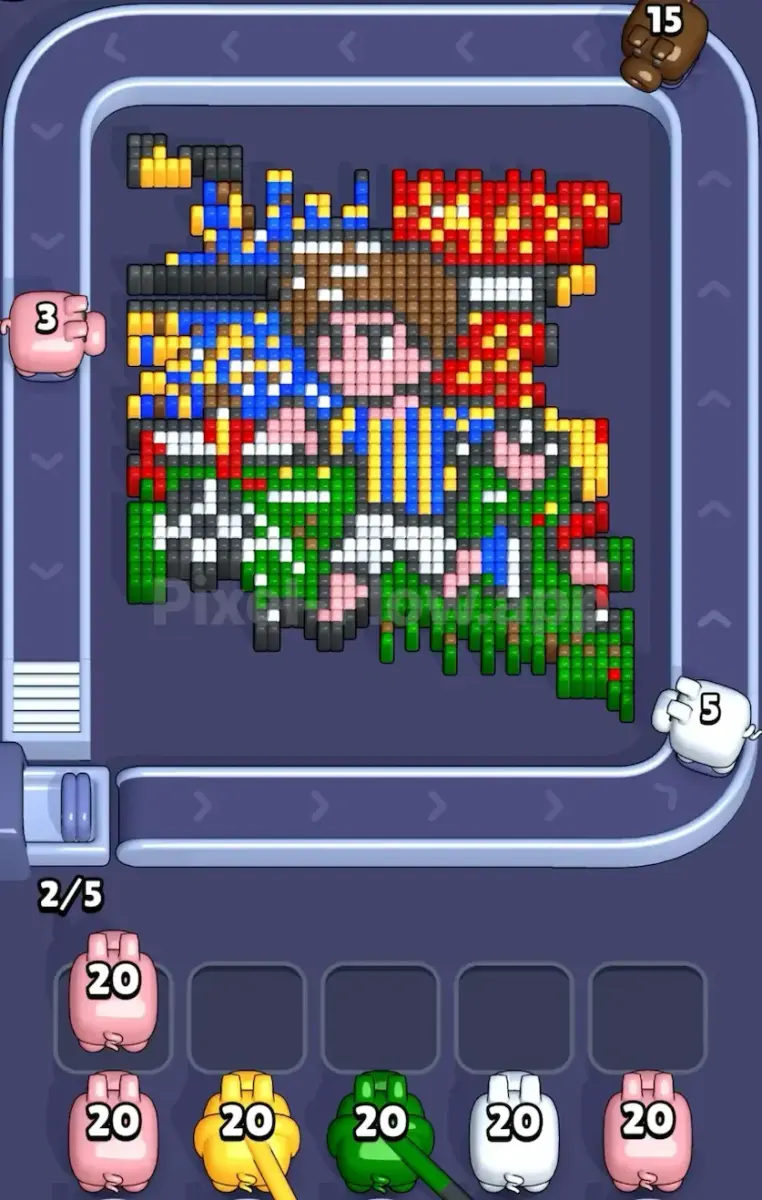
Break
Lock pressure
The first useful progress is opening enough space to spend ammo on the inner cyan locks.
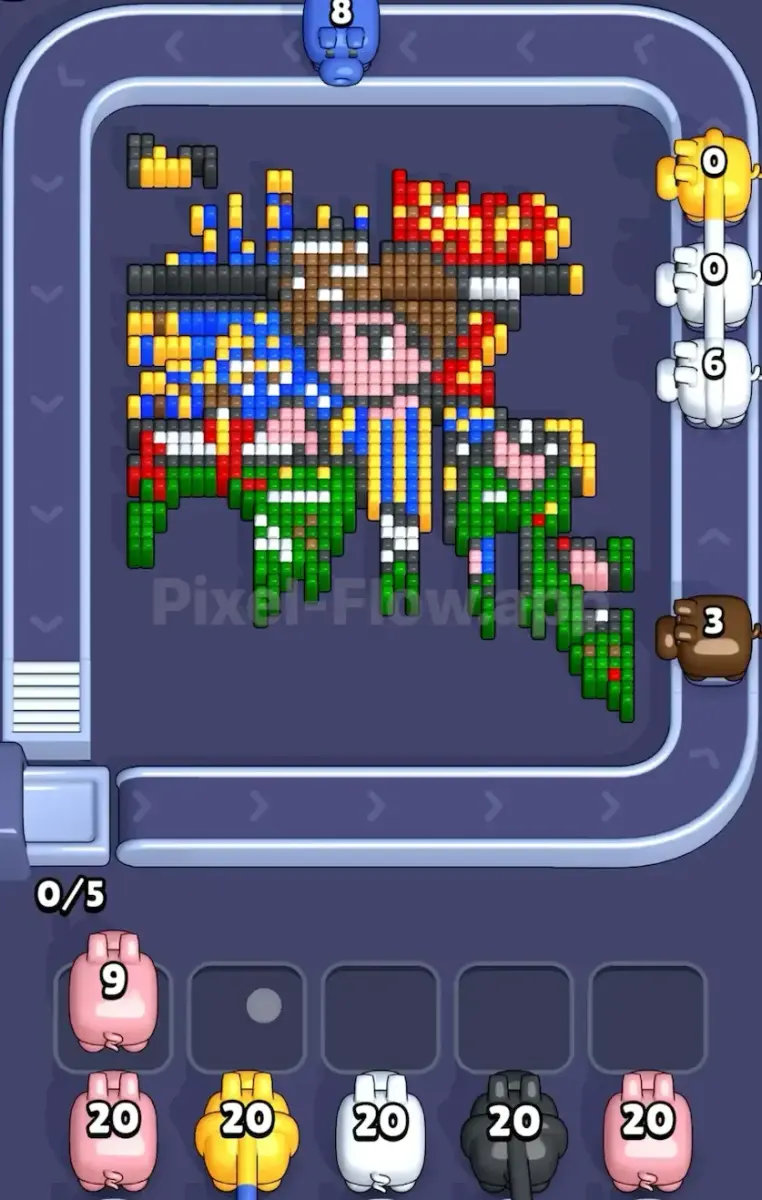
Finish
Center cleanup
Only clean the center once the cage and lock pressure are under control.
Cek power-up
Lewati langkah ini sebelum memakai booster.
Enhanced pages are built around board reading: confirm the picture, find the opener, control the five slots, then decide whether a booster actually changes the next move.
Confirm the stained-glass layout
White border, pink corners, black cross, and cyan numbered locks should all be visible.
Break the white cage first
The perimeter unlocks access to the four quadrants and keeps later shots from wasting ammo.
Respect the cyan locks
Treat each 10-hit block as a planned ammo spend, not a place to dump weak leftovers.
Clean inner colors after the cross opens
The center becomes safe only after the outer cage and lock blockers stop controlling the route.
Video
Gunakan thumbnail untuk mengecek papan sebelum bermain.
Open the player only after the cover looks close to your board. If the shape or first exposed colors differ, use the screenshot matcher first.
Halaman papan
Apa yang pemain perhatikan di papan ini.
Short route clues, booster reminders, and wrong-layout warnings stay attached to this exact board image.
I wait until the white outer cage and four pink corners both line up. If one clue is off, I assume it is a different board with the same level number.
The cyan 10-hit blocks are ammo sinks. If you feed them weak pigs while the outer cage still stands, the tray fills before the inner cross opens.
Add Tray is only worth it when two strong pigs can both spend into the white cage or cyan locks. Hand is better when one bad stored pig blocks a lock-breaking color. I check the opener first, then decide whether the extra slot actually changes the next move.
Belum ada petunjuk pemain di papan ini.
Tambahkan petunjuk setelah mencoba tata letaknya agar rute berikutnya lebih mudah dibaca.
Buka pemecah
Nomor sama, papan berbeda?
Match your screenshot against 2020 board visuals, then return to the closest level page once the picture lines up.
Papan dekat
Pindah di rentang ini lewat gambar.
Use nearby pages when your board has the same level band but the picture is slightly different.
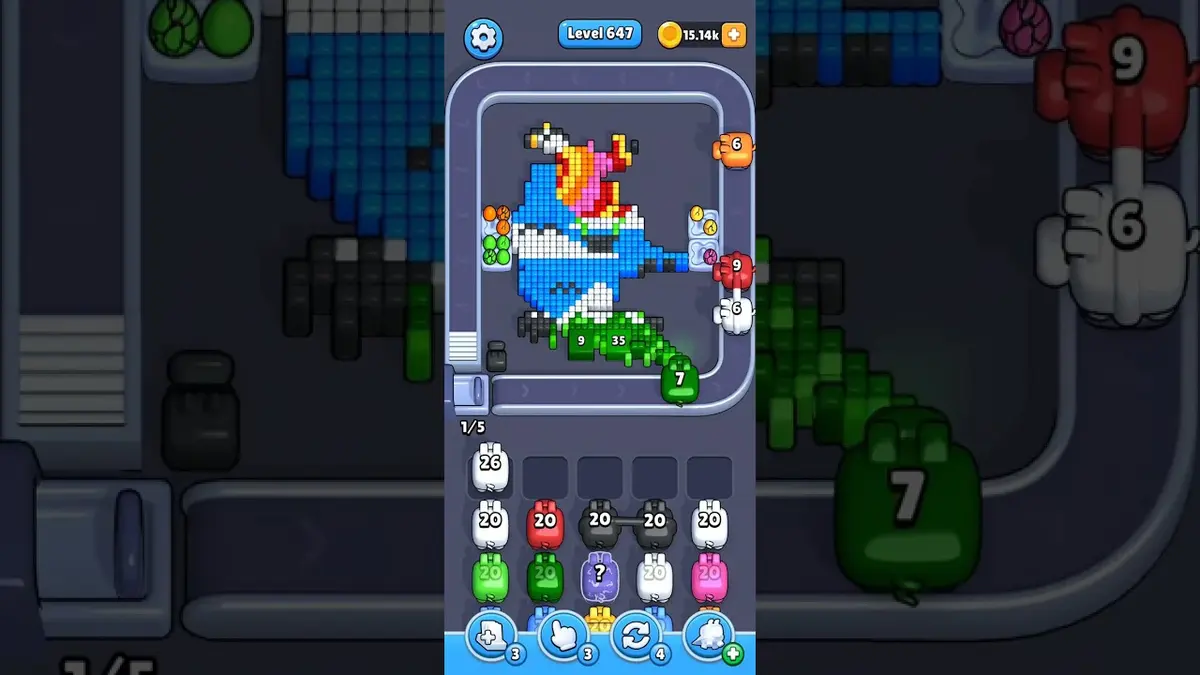
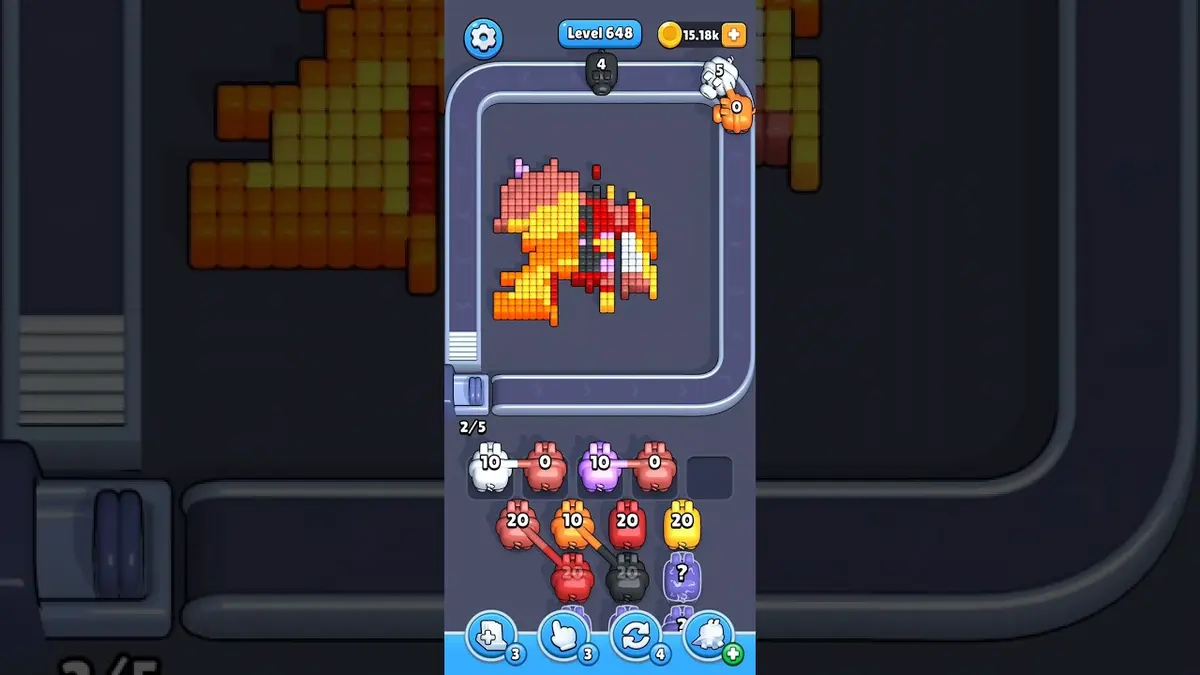
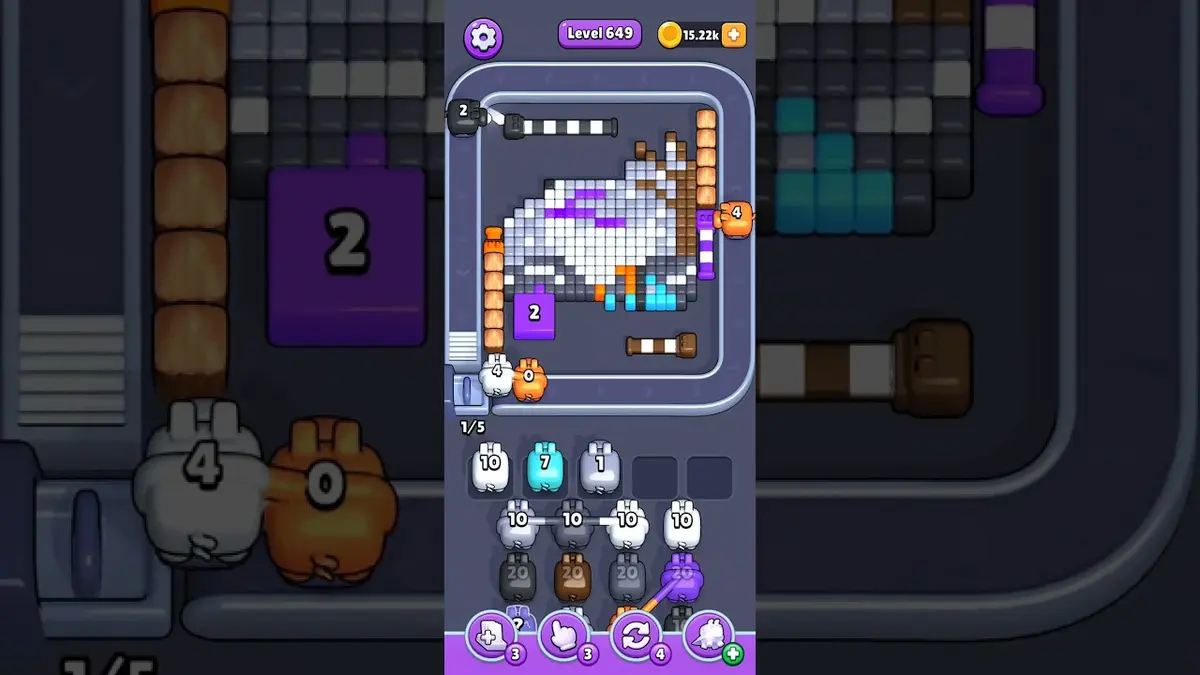
Rentang dekat
Jelajahi rentang level.
Open a few boards in the same small band when the level number is close but the image does not match.
Panduan lengkap
Buka logika rute di dekat papan ini.
These pages may not be the same layout, but they show useful opener, tray, and booster decisions for nearby hard boards.
Level 643
Heavy slot pressure
Reject low-value pigs until the first wall color has a clear lane.
Buka panduan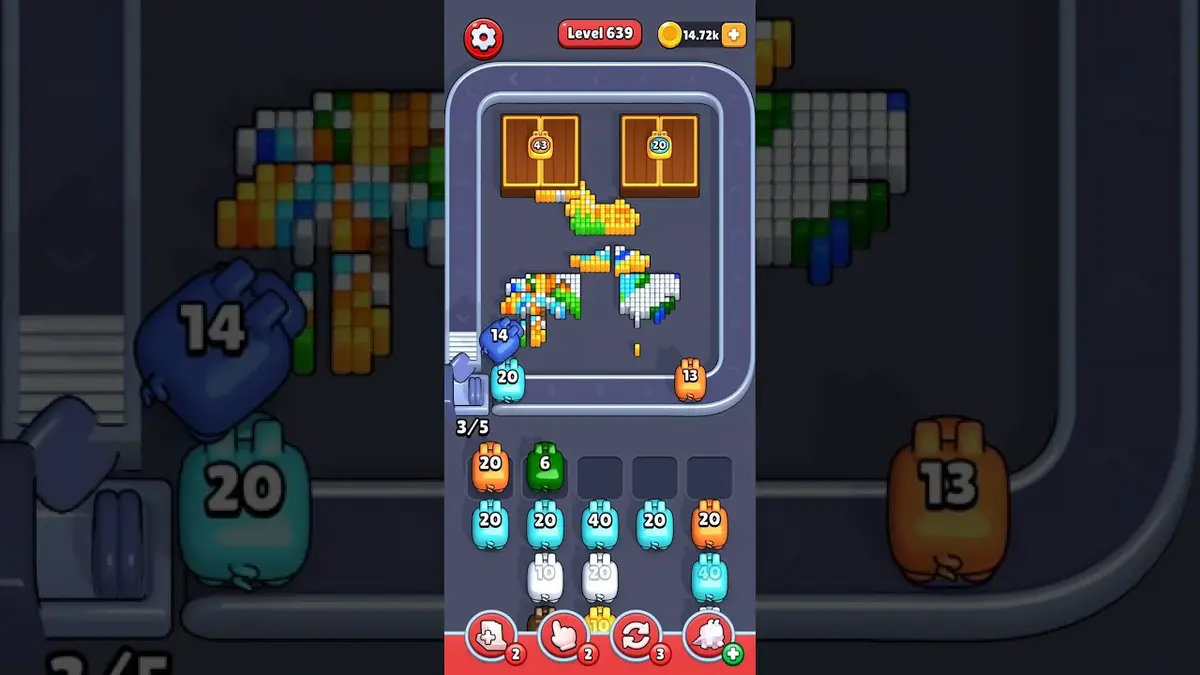
Level 639
Lengkap
Start with the first color window that can clear fully. A useful opener should remove a connected group or create a wider lane, not just spend a few easy pixels.
Buka panduan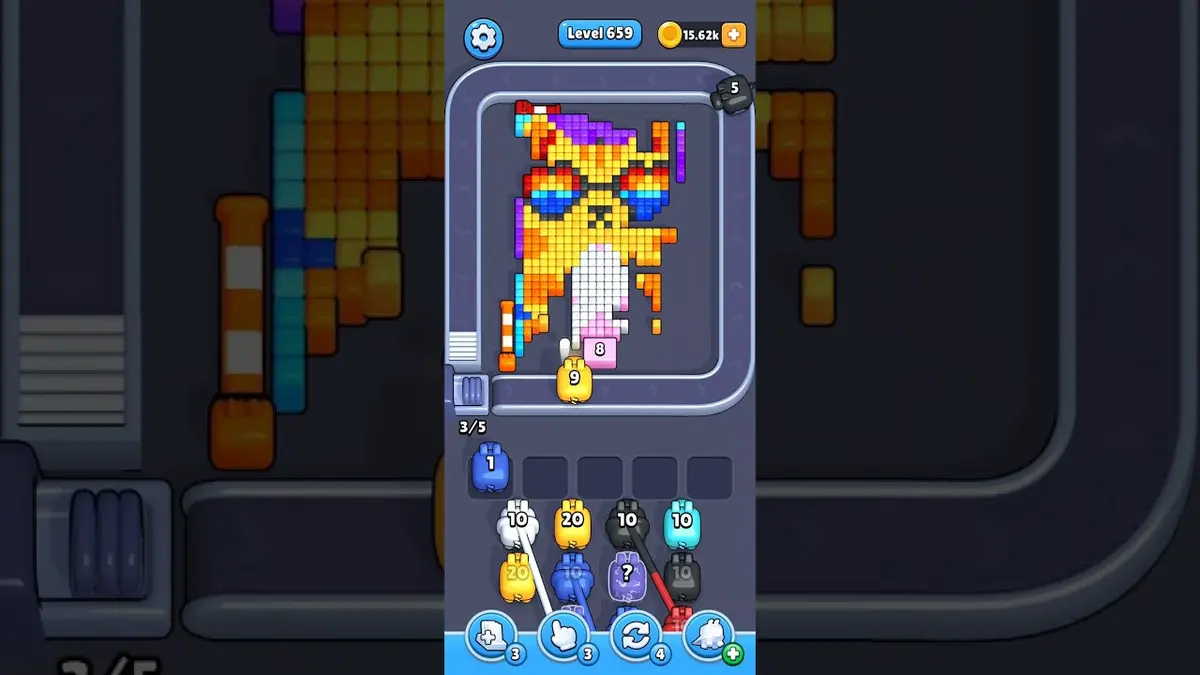
Level 659
Lengkap
Start with the first color window that can clear fully. A useful opener should remove a connected group or create a wider lane, not just spend a few easy pixels.
Buka panduan
Level 660
Lengkap
Start with the first color window that can clear fully. A useful opener should remove a connected group or create a wider lane, not just spend a few easy pixels.
Buka panduan
Komentar
Komentar (3)