
시각 단서를 확인한 다음, 경로 힌트, 실패 지점, 부스터 판단, 영상 보조를 봅니다.
강화
Pixel Flow 레벨 195
Use Level 195 as a hard-board comparison page: it has repeated video coverage, close adjacent levels, and a higher chance that your layout differs by platform or update.
보드 패스포트
단일 레벨 작업대로 사용하세요.
시각 단서를 확인한 다음, 경로 힌트, 실패 지점, 부스터 판단, 영상 보조를 봅니다.
Confirm repeated walkthrough and largest safe mass first; switch to screenshot matching if either clue is missing.
Open the player only after the cover looks close to your board. If the shape or first exposed colors differ, use the screenshot matcher first.
같은 레벨 번호가 다른 보드를 가리킬 수 있으니 이미지로 맞추세요.
확인할 것
repeated walkthroughlargest safe massadjacent 189-202layout mismatch riskbelt order check
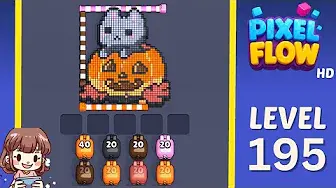
Shared-video hard check
- Confirm repeated walkthrough and largest safe mass first; switch to screenshot matching if either clue is missing.
- Use Level 195 as a hard-board comparison page: it has repeated video coverage, close adjacent levels, and a higher chance that your layout differs by platform or update.
- Pick the largest safe color mass first, then use the newly opened area to decide whether the route is actually the same as the video.
- The trap is assuming the level number proves the route. When the first color mass is not in the same place, the rest of the sequence breaks quickly.
- Shuffle is stronger than Add Tray only when the board matches and the incoming order is bad. Add Tray cannot fix the wrong layout. 가이드 열기
- Compare Levels 189-202 if the first mass or adjacent image looks off; use screenshot matching before spending paid resources.
강화 가이드
이 순서로 확인하세요.
Enhanced pages add board-specific judgment. They still start with the picture because a close level number can hide a different layout.
Confirm the first mass
The first clearable color should be in the same broad area as the board image before you trust any route.
Clear one mass cleanly
Avoid jumping between small pockets; one clean open area gives the belt more usable targets.
Compare the next two moves
If the next two useful colors do not exist on your board, this is probably a variant.
Save boosters for confirmed layouts
Use a booster only after the board matches and one stored pig is clearly blocking the next correct move.
강화 가이드
Shared-video hard check: 플레이 전에 여기부터 확인하세요.
Use these notes when the board image matches your screen. If the shape differs, jump to screenshot matching before spending boosters.
이미지 일치
Use Level 195 as a hard-board comparison page: it has repeated video coverage, close adjacent levels, and a higher chance that your layout differs by platform or update.
첫 수 일치
Pick the largest safe color mass first, then use the newly opened area to decide whether the route is actually the same as the video.
부스터 일치
The trap is assuming the level number proves the route. When the first color mass is not in the same place, the rest of the sequence breaks quickly.
부스터 일치
Shuffle is stronger than Add Tray only when the board matches and the incoming order is bad. Add Tray cannot fix the wrong layout.
확인할 것
repeated walkthroughlargest safe massadjacent 189-202layout mismatch riskbelt order check
같은 레벨 번호가 다른 보드를 가리킬 수 있으니 이미지로 맞추세요.
Pick the largest safe color mass first, then use the newly opened area to decide whether the route is actually the same as the video.
부스터가 다음 수를 바꾸는지, 실패만 늦추는지 판단하세요.
부스터 확인
부스터를 쓰기 전에 이 순서를 거치세요.
Enhanced pages are built around board reading: confirm the picture, find the opener, control the five slots, then decide whether a booster actually changes the next move.
Confirm the first mass
The first clearable color should be in the same broad area as the board image before you trust any route.
Clear one mass cleanly
Avoid jumping between small pockets; one clean open area gives the belt more usable targets.
Compare the next two moves
If the next two useful colors do not exist on your board, this is probably a variant.
Save boosters for confirmed layouts
Use a booster only after the board matches and one stored pig is clearly blocking the next correct move.
영상
재생 전 썸네일로 보드를 확인하세요.
Open the player only after the cover looks close to your board. If the shape or first exposed colors differ, use the screenshot matcher first.
보드 페이지
이 보드에서 플레이어가 알아낸 것.
Short route clues, booster reminders, and wrong-layout warnings stay attached to this exact board image.
I wait until the repeated walkthrough and largest safe mass both line up. If one clue is off, I assume it is a different board with the same level number.
The trap is assuming the level number proves the route. When the first color mass is not in the same place, the rest of the sequence breaks quickly.
Shuffle is stronger than Add Tray only when the board matches and the incoming order is bad. Add Tray cannot fix the wrong layout. I check the opener first, then decide whether the extra slot actually changes the next move.
이 보드에는 아직 플레이어 힌트가 없습니다.
레이아웃을 확인한 뒤 힌트를 추가하면 다음 경로를 더 쉽게 읽을 수 있습니다.
솔버 열기
같은 번호인데 다른 보드인가요?
Match your screenshot against 2020 board visuals, then return to the closest level page once the picture lines up.
근처 보드
이미지로 이 범위를 이동하세요.
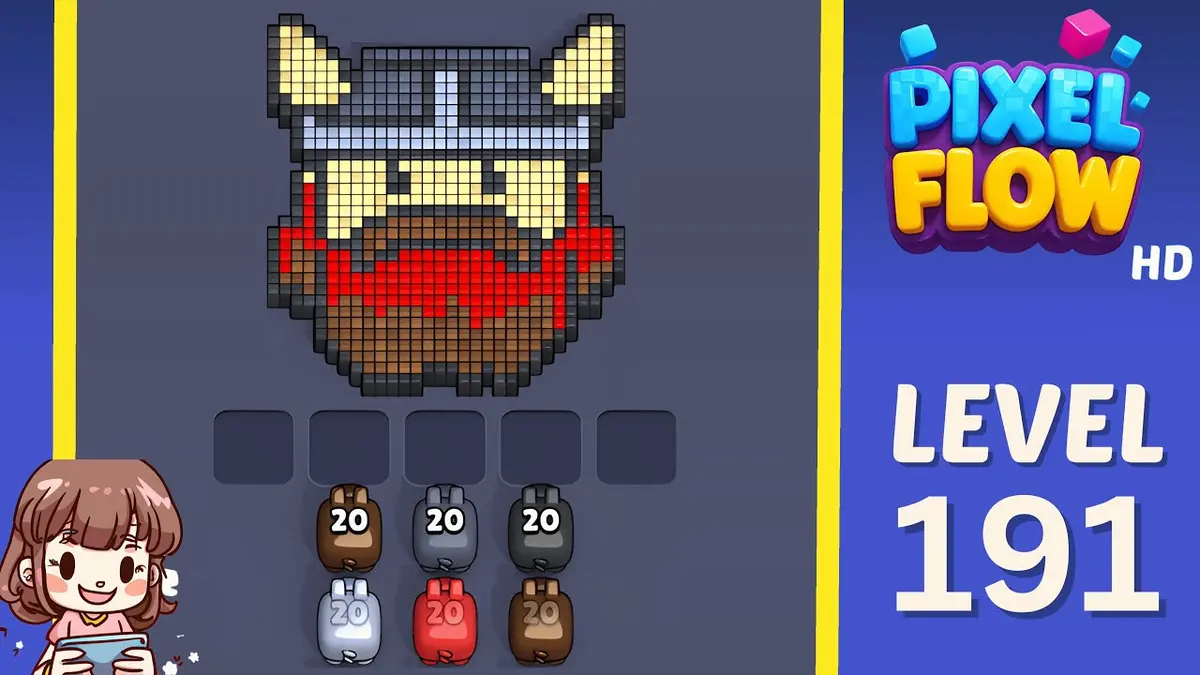
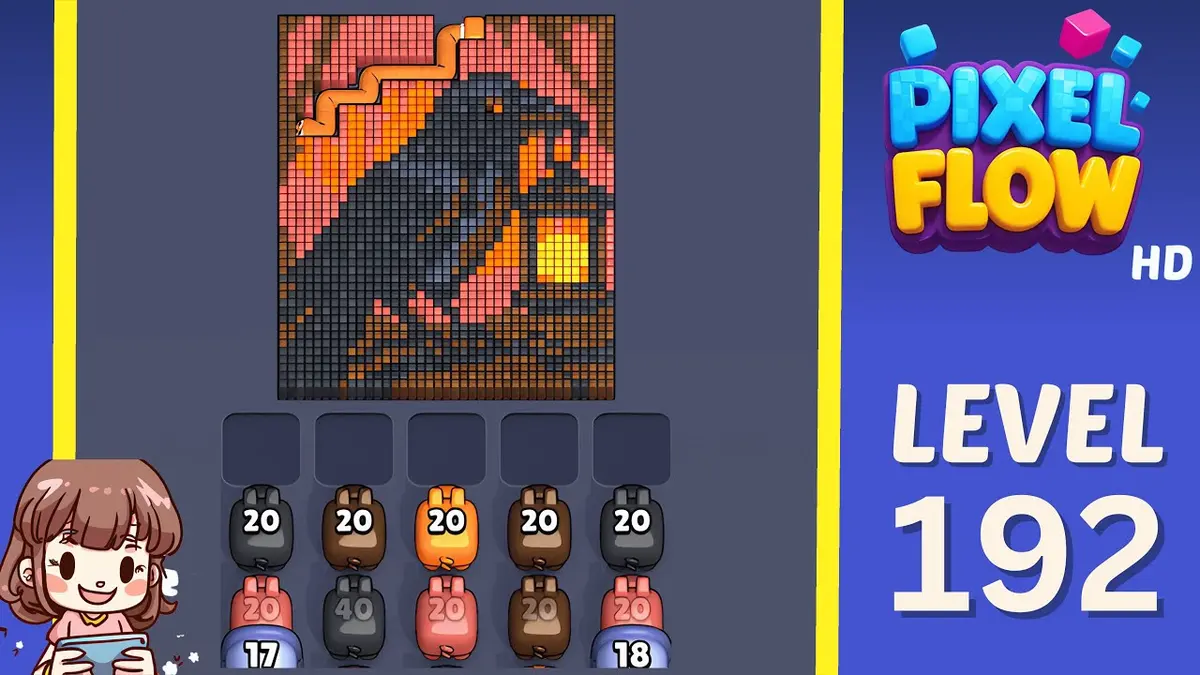
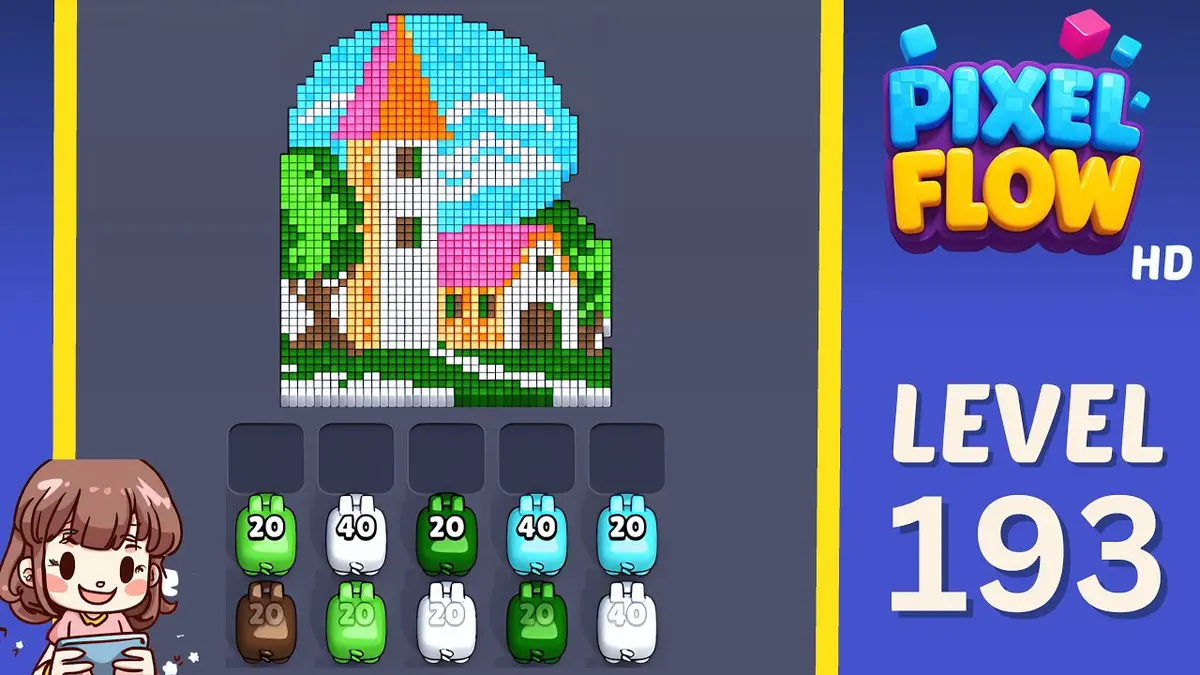
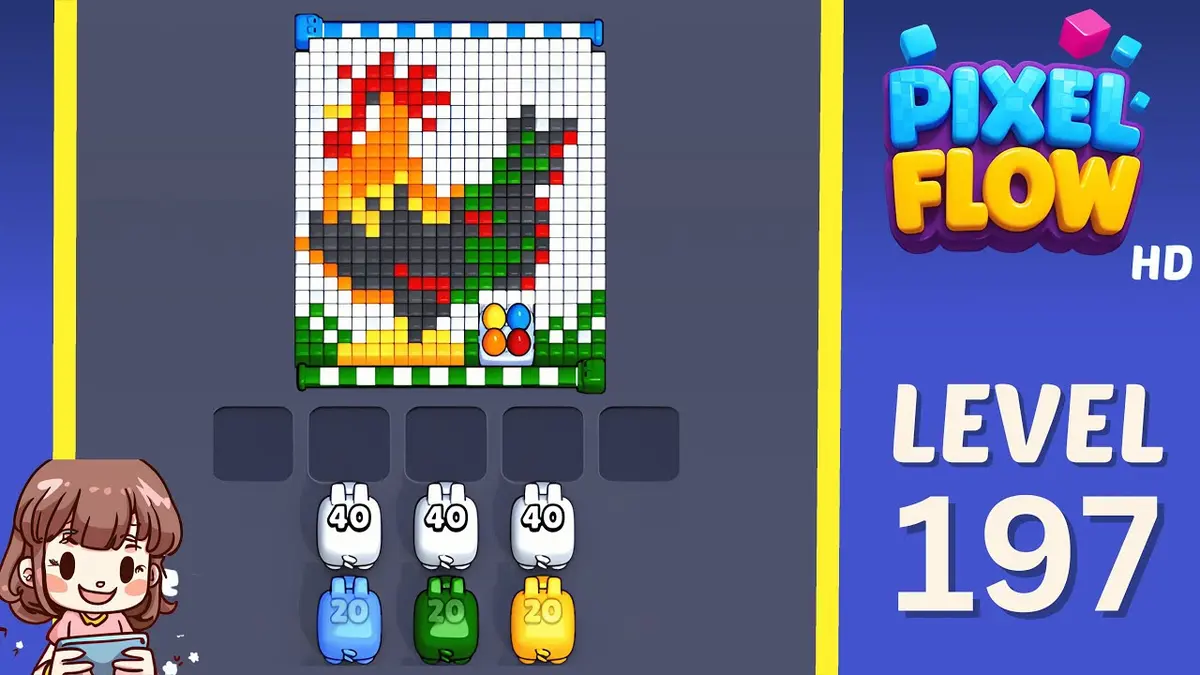
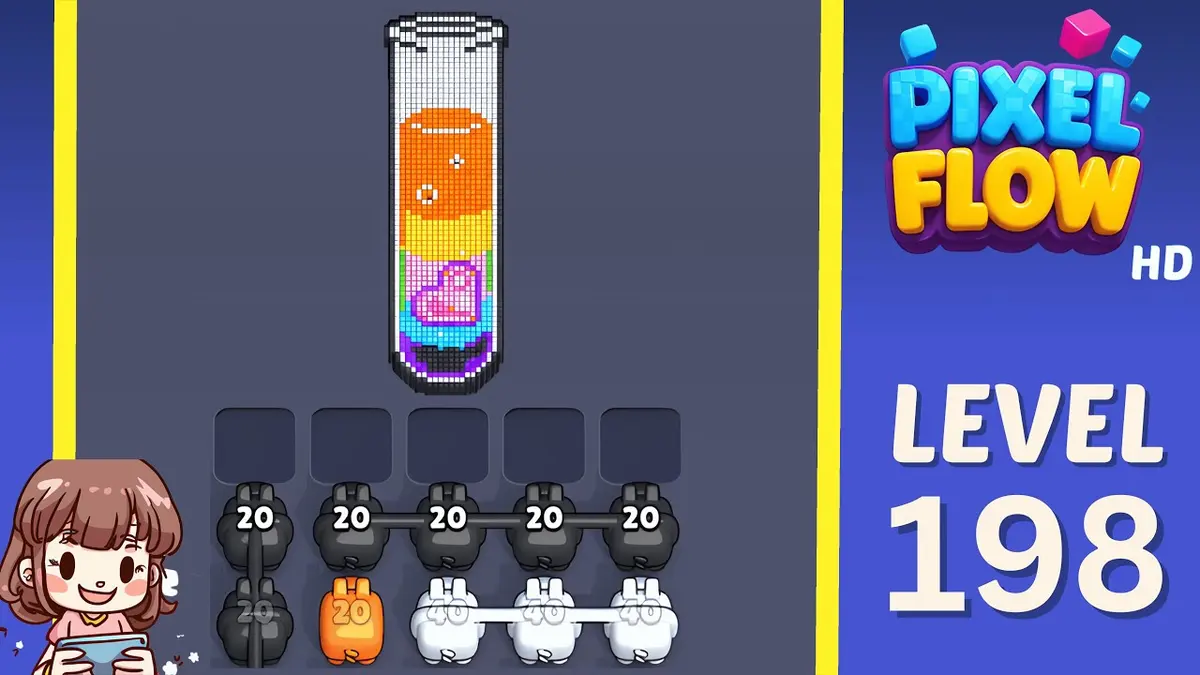
Use nearby pages when your board has the same level band but the picture is slightly different.
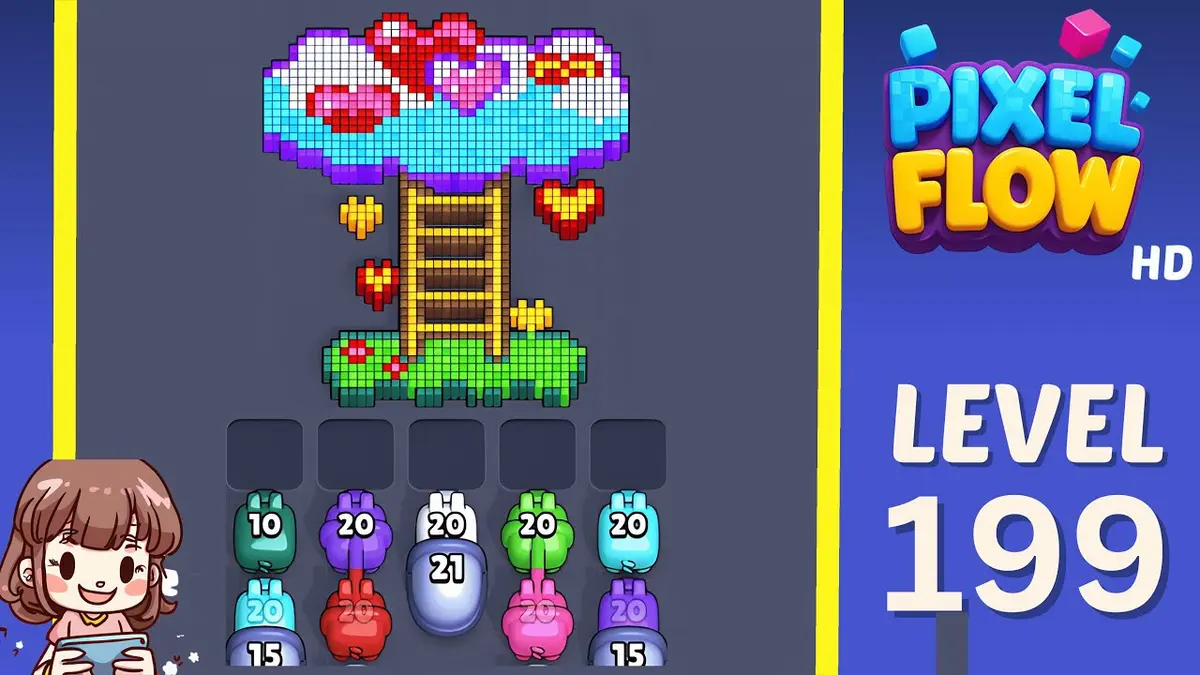
근처 범위
레벨 범위를 둘러보세요.
Open a few boards in the same small band when the level number is close but the image does not match.
강화 가이드
이 보드 근처의 경로 로직을 엽니다.
These pages may not be the same layout, but they show useful opener, tray, and booster decisions for nearby hard boards.
레벨 189
Layered color split
Pick the color with two exposed pockets and clear both before chasing isolated pixels.
가이드 열기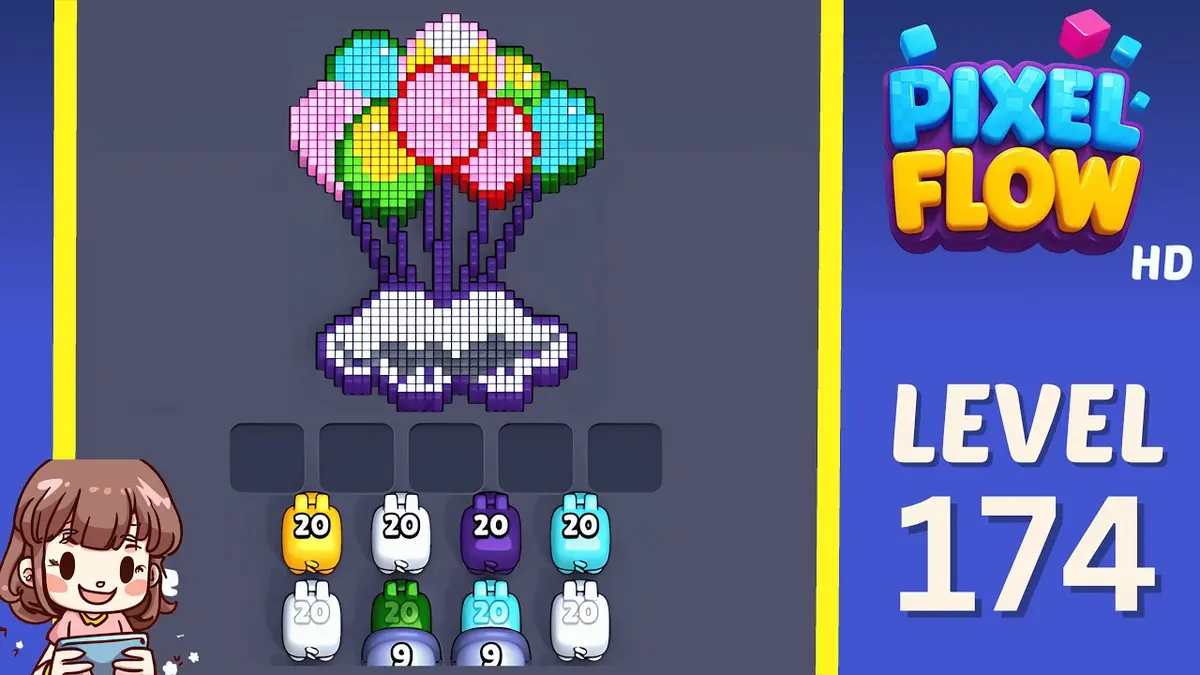
레벨 174
Queue recovery
Keep the fifth slot empty and cycle until the first high-ammo pig has a clear target.
가이드 열기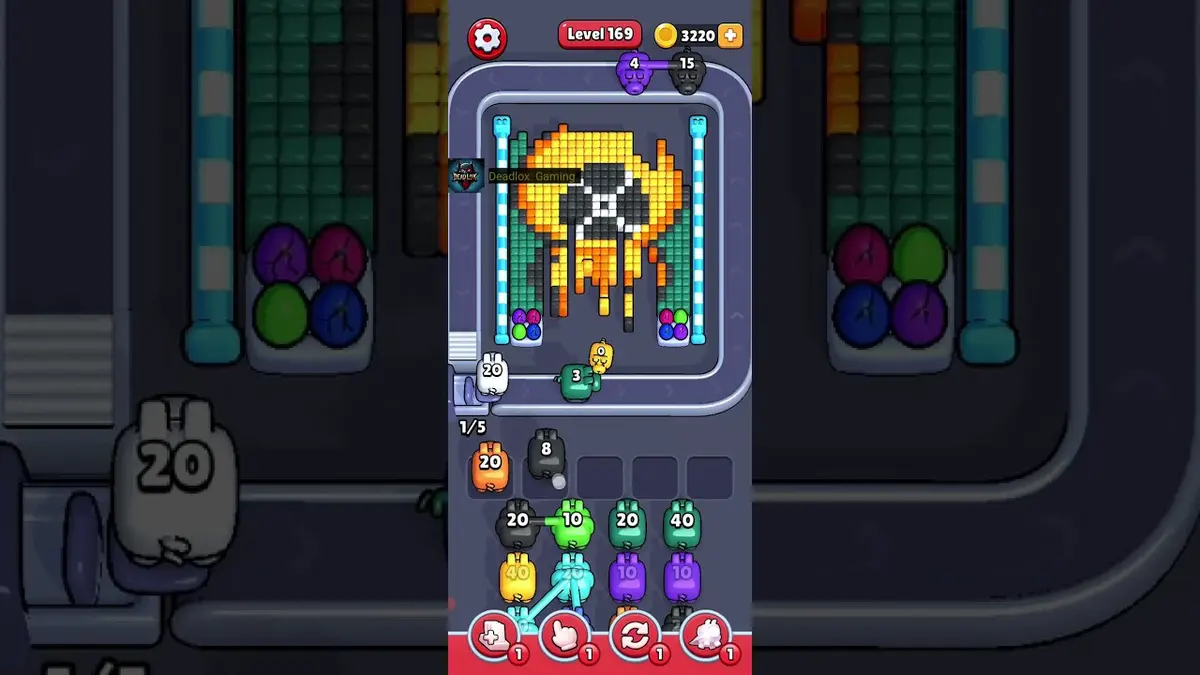
레벨 169
Small window sequence
Clear the first exposed window fully, then wait for the next matching color rather than forcing it.
가이드 열기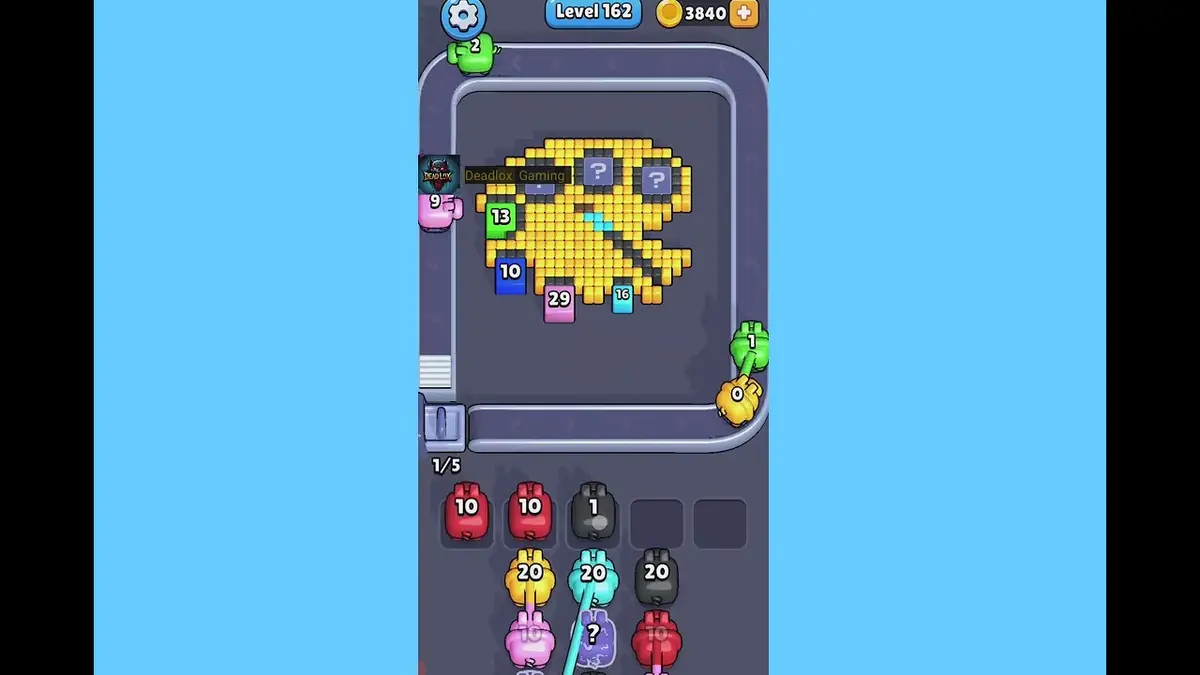
레벨 162
Queue rhythm lane
Use a two-beat rhythm: accept only pigs that can immediately clear an exposed chain.
가이드 열기
댓글
댓글 (3)