
Bestätige die visuellen Hinweise und prüfe dann Route, Fehlerstelle, Booster-Entscheidung und Videohilfe.
Erweitert
Pixel Flow Level 69
A compact board where one color hides behind a shallow outer shell.
Brett-Pass
Nutze sie als Ein-Level-Werkbank.
Bestätige die visuellen Hinweise und prüfe dann Route, Fehlerstelle, Booster-Entscheidung und Videohilfe.
Match main blocker stack and the blocker group that releases the most new space, then follow the opener before touching scattered pixels.
Open the player only after the cover looks close to your board. If the shape or first exposed colors differ, use the screenshot matcher first.
Wenn die Nummer stimmt, das Bild aber nicht, schau zuerst die nahegelegenen Bretter an.
Achte auf
main blocker stackthe blocker group that releases the most new spacelargest visible groupsame board outlinevideo cover check
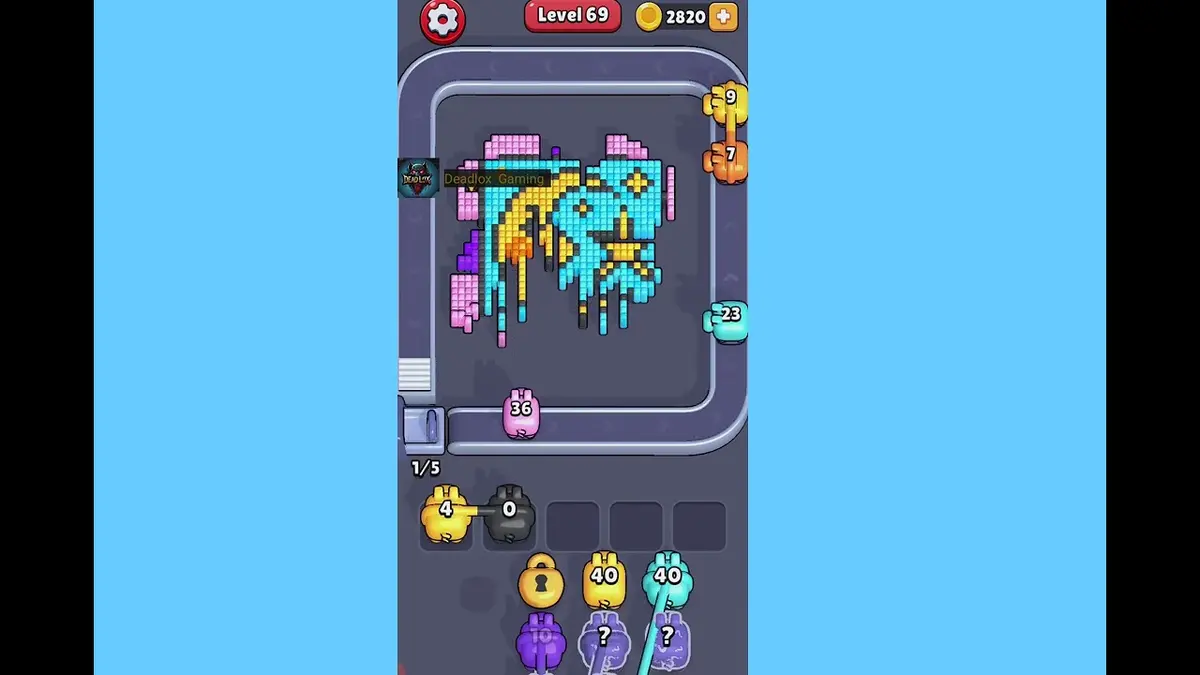
First hard wall
- Match main blocker stack and the blocker group that releases the most new space, then follow the opener before touching scattered pixels.
- A compact board where one color hides behind a shallow outer shell.
- Break the exposed shell color first, then spend the narrow color after it has a direct line.
- Trying to clear the hidden color too early turns good ammo into dead slot weight.
- Add Tray is useful only if four slots are already occupied by colors with no exposed target. Guide öffnen
- If the shell colors do not match, treat it as a nearby layout and use screenshot search.
Erweiterte Guides
In dieser Reihenfolge prüfen.
Enhanced pages add board-specific judgment. They still start with the picture because a close level number can hide a different layout.
Confirm the board family
Check the main blocker stack, the largest exposed group, and the border shape before trusting the level number.
Commit to one opener
Use the blocker group that releases the most new space to make space first. Switching targets too early usually creates leftovers instead of progress.
Protect the tray
Keep two useful pigs only when they hit the same blocker. A pig that cannot spend most of its ammo right now is usually tray weight.
Fallback by picture
If the shell colors do not match, treat it as a nearby layout and use screenshot search.
Erweiterte Guides
First hard wall: Das vor dem Spielen prüfen.
Use these notes when the board image matches your screen. If the shape differs, jump to screenshot matching before spending boosters.
Bildabgleich
A compact board where one color hides behind a shallow outer shell.
Eröffnungsabgleich
Break the exposed shell color first, then spend the narrow color after it has a direct line.
Boosterabgleich
Trying to clear the hidden color too early turns good ammo into dead slot weight.
Boosterabgleich
Add Tray is useful only if four slots are already occupied by colors with no exposed target.
Achte auf
main blocker stackthe blocker group that releases the most new spacelargest visible groupsame board outlinevideo cover checkcompare 54, 125, 139
Nutze den Bildabgleich, wenn dieselbe Levelnummer ein anderes Brett zeigen kann.
Break the exposed shell color first, then spend the narrow color after it has a direct line.
Entscheide, ob ein Booster den nächsten Zug verändert oder nur einen schlechten Lauf verzögert.
Power-ups prüfen
Vor dem Booster diesen Schritt durchgehen.
Enhanced pages are built around board reading: confirm the picture, find the opener, control the five slots, then decide whether a booster actually changes the next move.
Confirm the board family
Check the main blocker stack, the largest exposed group, and the border shape before trusting the level number.
Commit to one opener
Use the blocker group that releases the most new space to make space first. Switching targets too early usually creates leftovers instead of progress.
Protect the tray
Keep two useful pigs only when they hit the same blocker. A pig that cannot spend most of its ammo right now is usually tray weight.
Fallback by picture
If the shell colors do not match, treat it as a nearby layout and use screenshot search.
Video
Die Miniatur vor dem Spielen als Brettcheck nutzen.
Open the player only after the cover looks close to your board. If the shape or first exposed colors differ, use the screenshot matcher first.
Board-Seiten
Was Spieler auf diesem Brett bemerkt haben.
Short route clues, booster reminders, and wrong-layout warnings stay attached to this exact board image.
I wait until the main blocker stack and the blocker group that releases the most new space both line up. If one clue is off, I assume it is a different board with the same level number.
Trying to clear the hidden color too early turns good ammo into dead slot weight.
Add Tray is useful only if four slots are already occupied by colors with no exposed target. I check the opener first, then decide whether the extra slot actually changes the next move.
Für dieses Brett gibt es noch keine Spielhinweise.
Füge nach dem Testen des Layouts einen Hinweis hinzu, damit die nächste Route leichter lesbar ist.
Löser öffnen
Gleiche Nummer, anderes Brett?
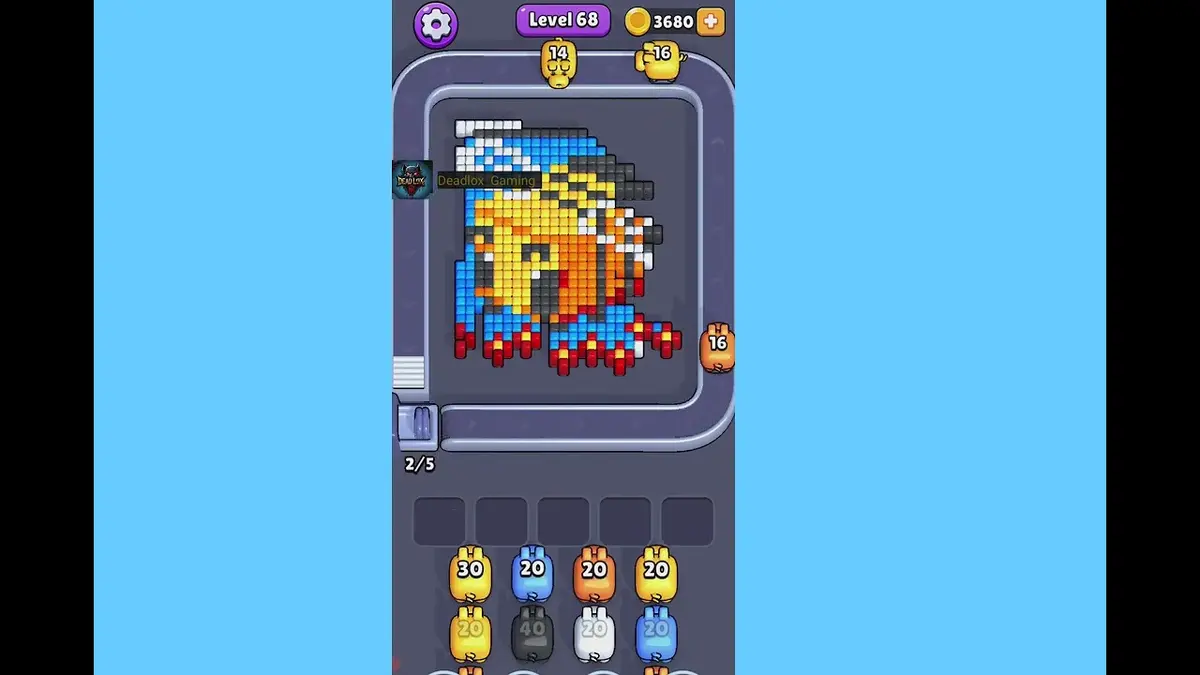
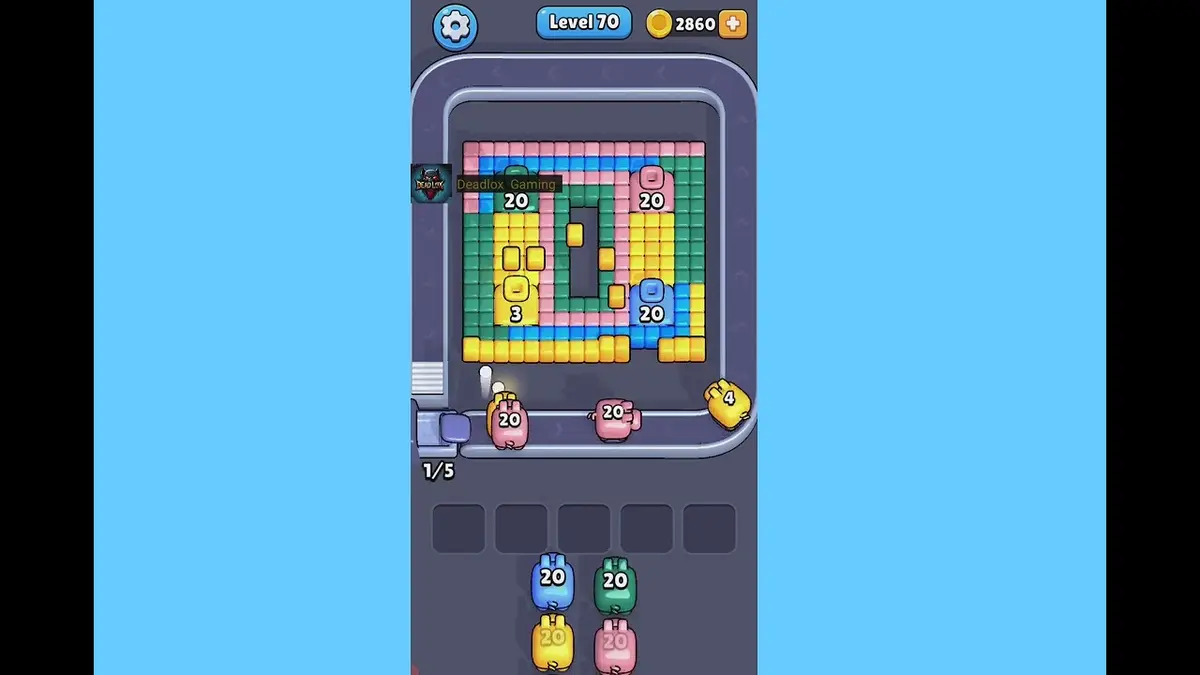
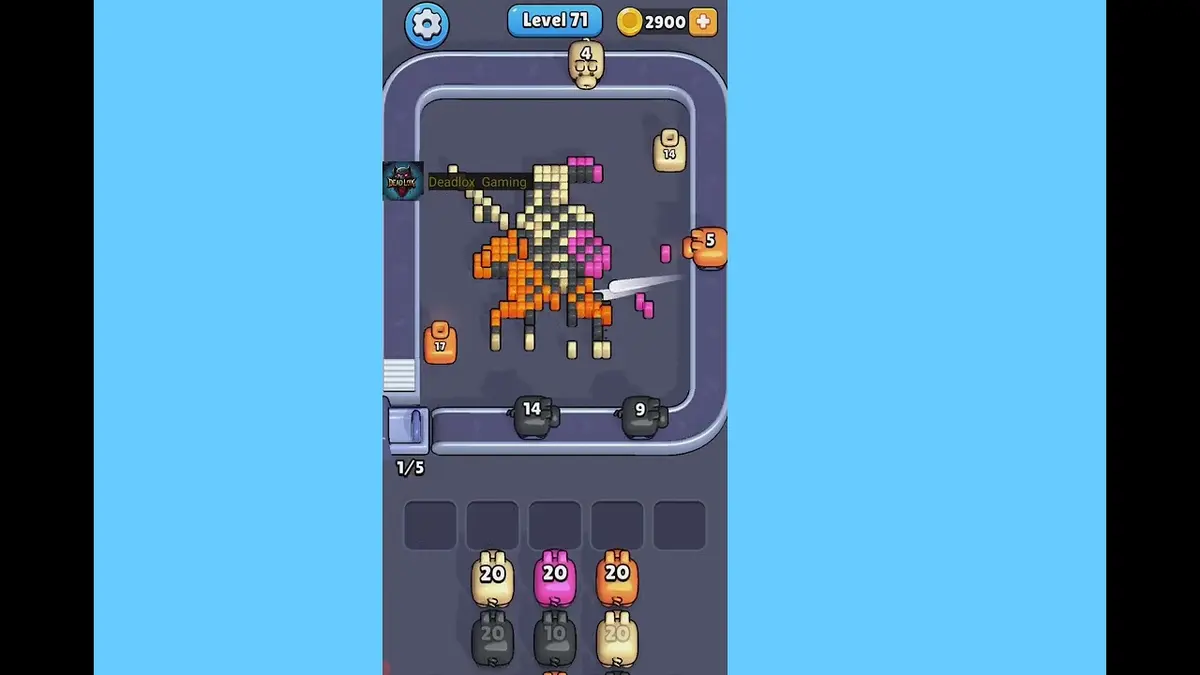
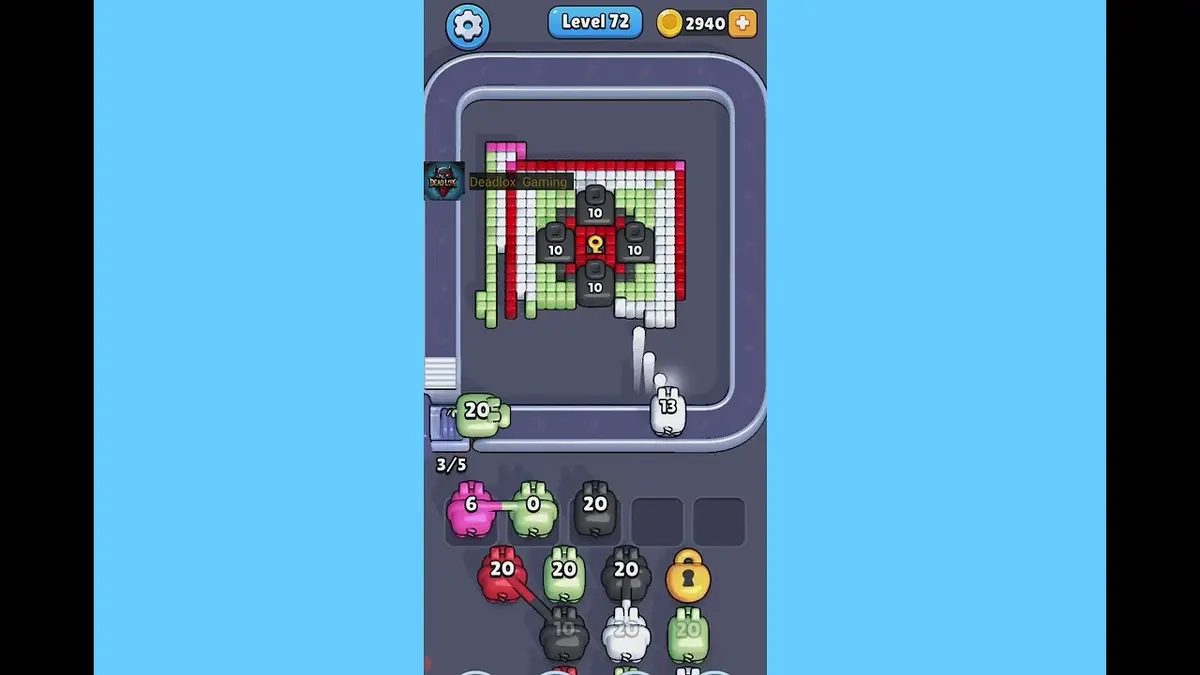
Match your screenshot against 2020 board visuals, then return to the closest level page once the picture lines up.
Nahes Board
Bewege dich per Bild durch diesen Bereich.
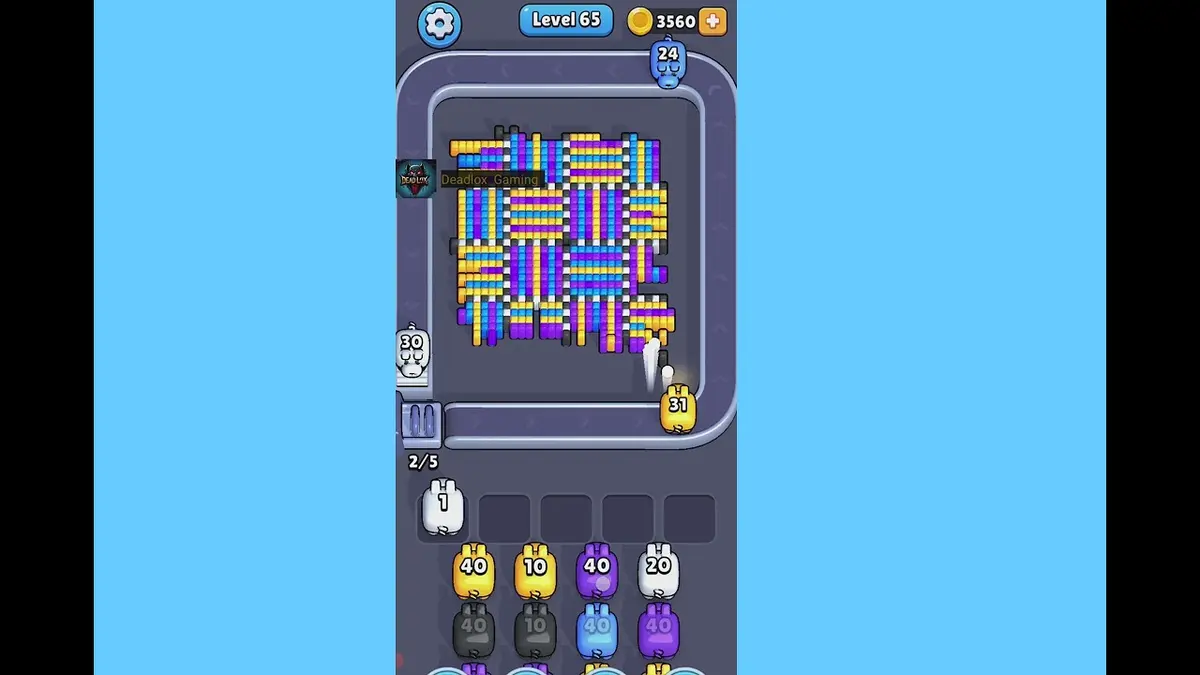
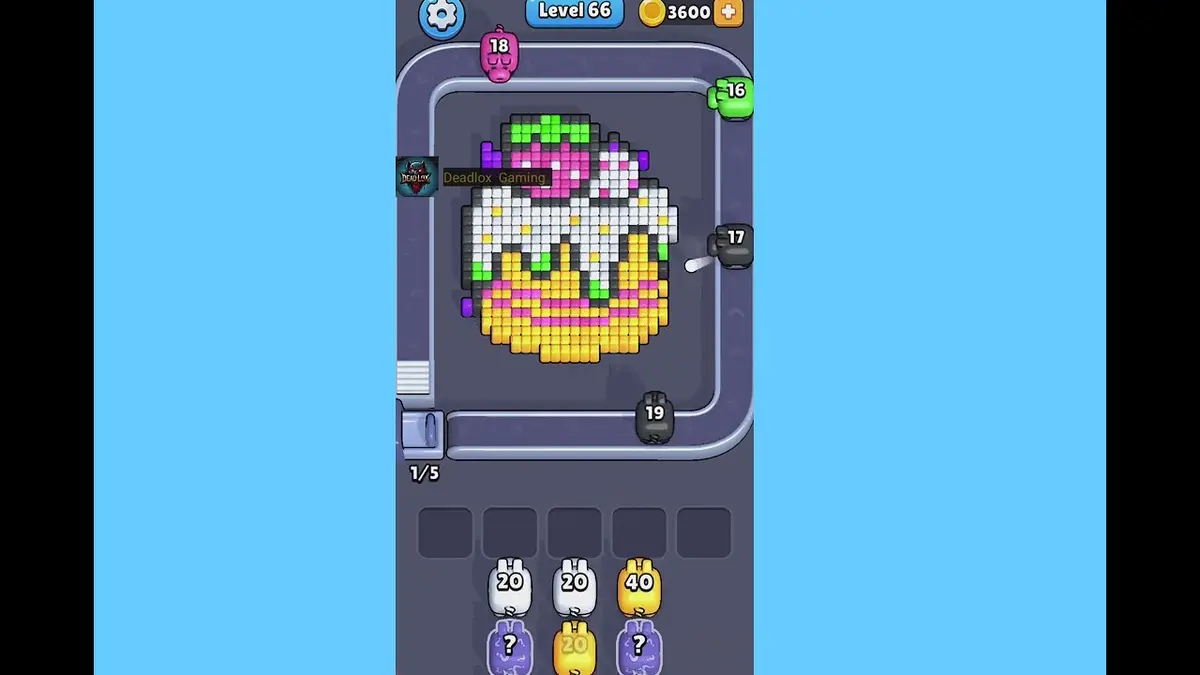
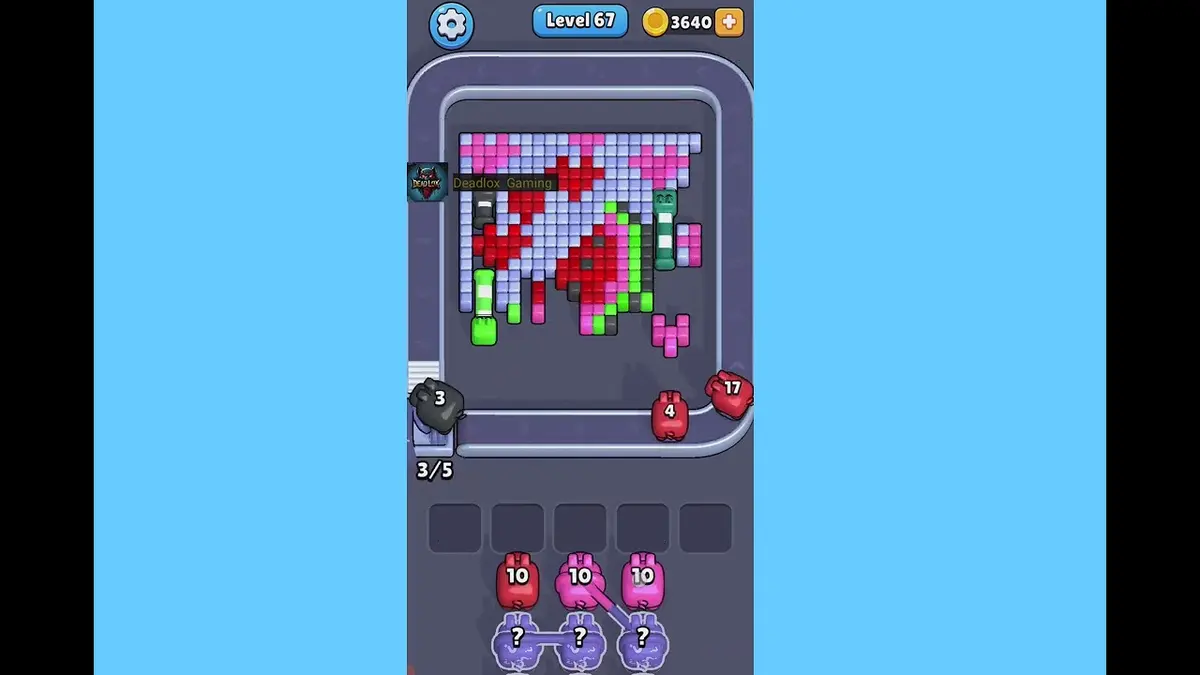
Use nearby pages when your board has the same level band but the picture is slightly different.
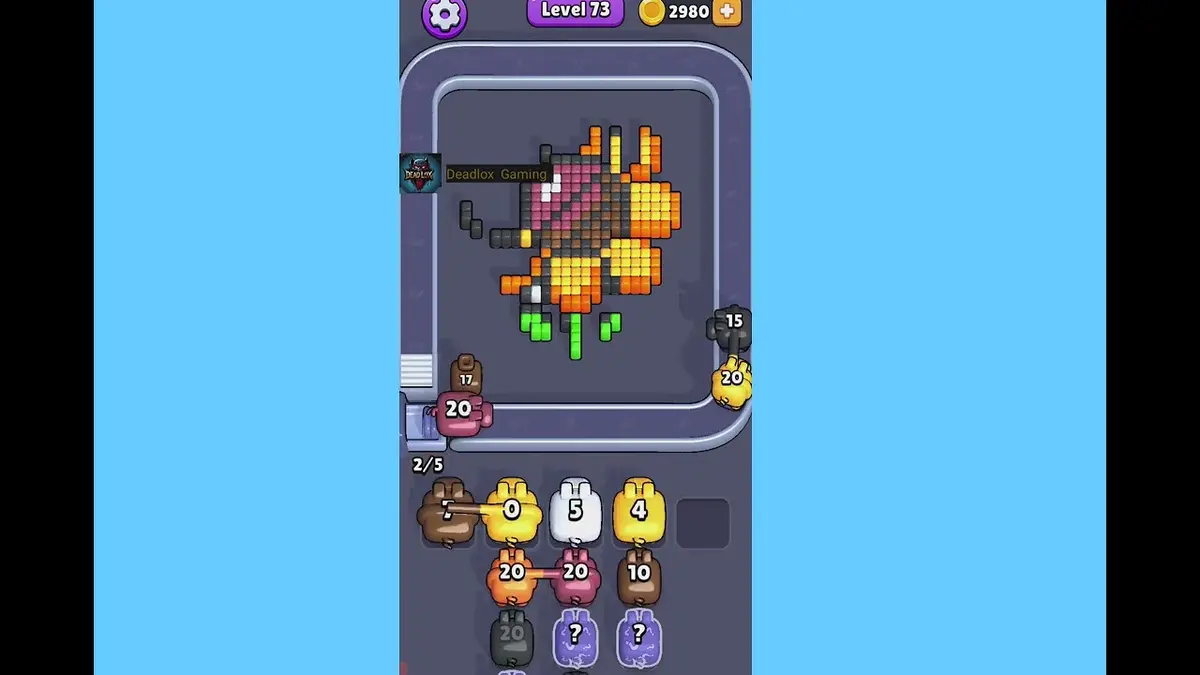
Naher Bereich
Den Levelbereich durchsuchen.
Open a few boards in the same small band when the level number is close but the image does not match.
Erweiterte Guides
Die Routenlogik nahe diesem Brett öffnen.
These pages may not be the same layout, but they show useful opener, tray, and booster decisions for nearby hard boards.
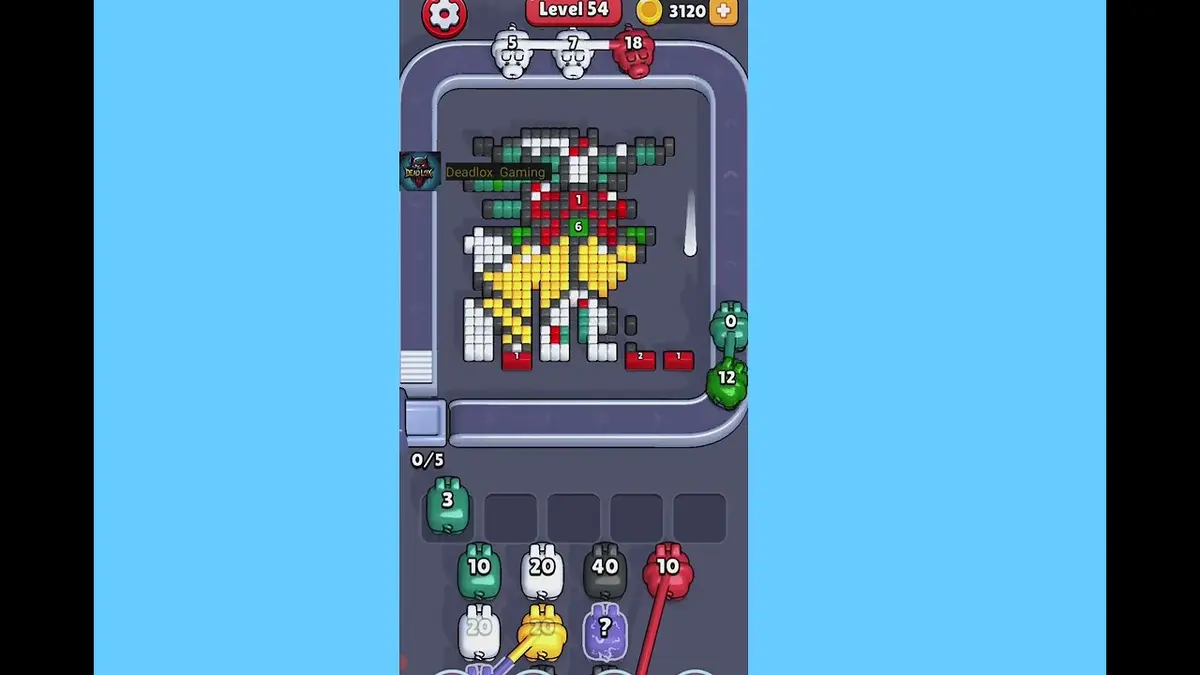
Level 54
Crossing lane drill
Open the crossing with the color that has the cleanest visible chain, then use the second color after the lane breathes.
Guide öffnen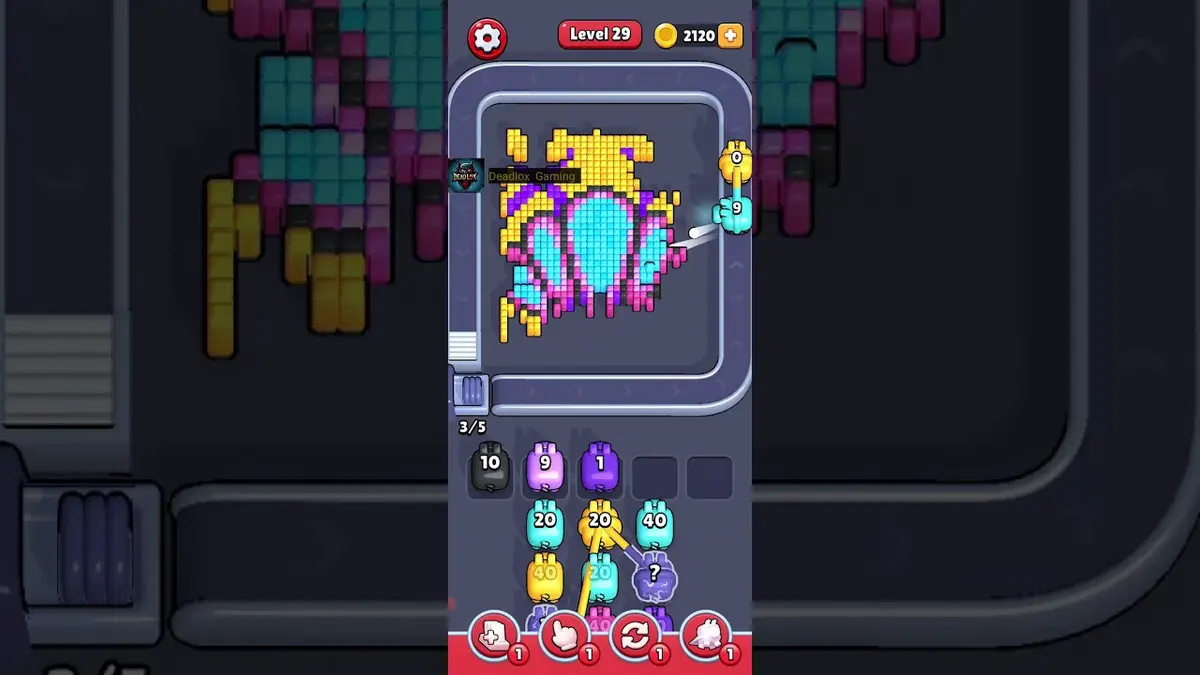
Level 29
Early rhythm check
Let weak pigs pass when they cannot spend most of their ammo on the visible color.
Guide öffnen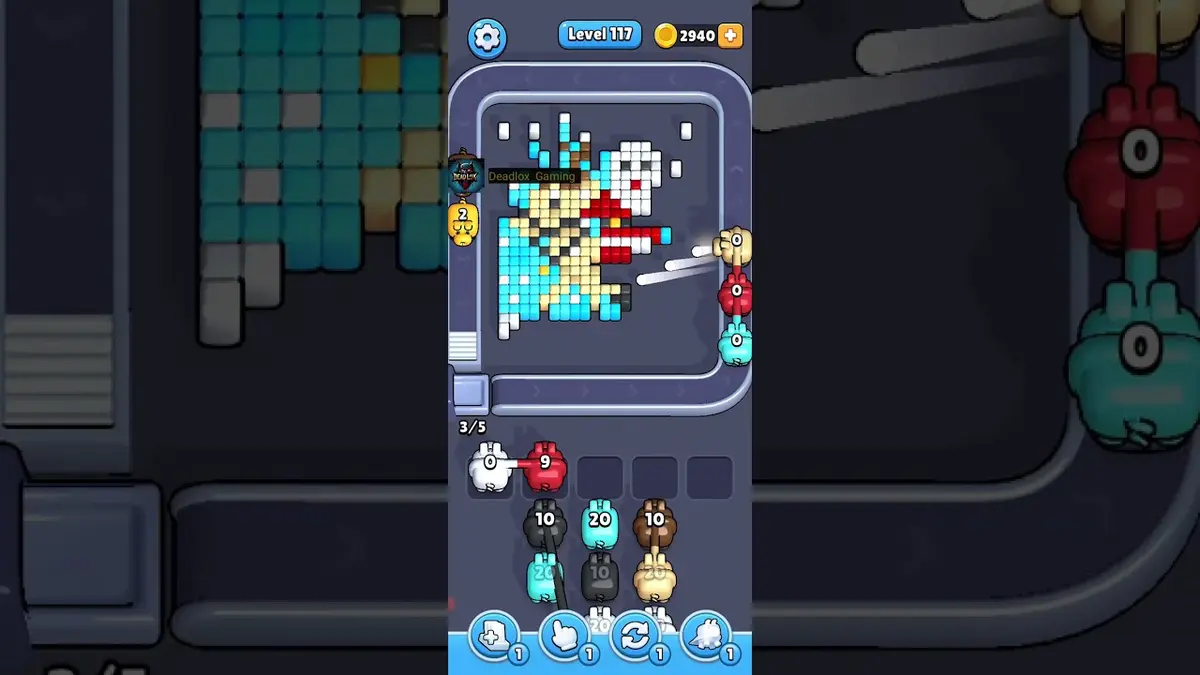
Level 117
Erweitert
Start with the first color window that can clear fully. A useful opener should remove a connected group or create a wider lane, not just spend a few easy pixels.
Guide öffnen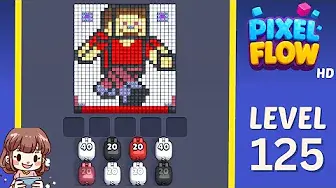
Level 125
Mid-board pressure
Work from the edge into the center and keep one slot open for the color that unlocks the middle.
Guide öffnen
Kommentare
Kommentare (3)